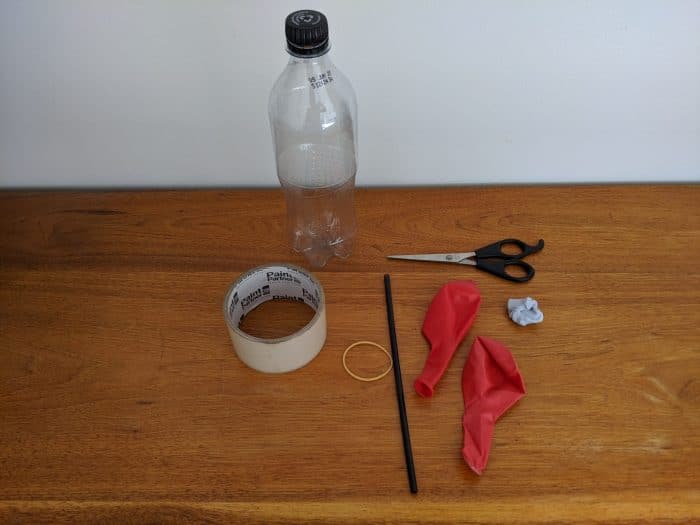
You will need:
- A clean dry plastic bottle (around 600mL works well but other sizes are OK too)
- Two balloons
- A straw
- Scissors
- Sticky tape, masking tape or electrical tape
- A rubber band
- Blu-tack, modelling clay, plasticine or firm playdough
School science visits since 2004!
– Curriculum-linked & award-winning incursions.
– Over 40 primary & high school programs to choose from.
– Designed by experienced educators.
– Over 2 million students reached.
– Face to face incursions & online programs available.
– Early learning centre visits too!
Get the Unit of Work on the human body here!
- Learn about the major body systems
- Dive into the five senses
- How does digestion, respiration, circulation and many other processes work and more!
Includes cross-curricular teaching ideas, student quizzes, a sample marking rubric, scope & sequences & more
Why Does This Happen?
When you breathe in, your diaphragm – the muscle at the base of your lungs, contracts. This expands your chest cavity, lowering the air pressure of the cavity below the air pressure outside, and inflating the lungs.
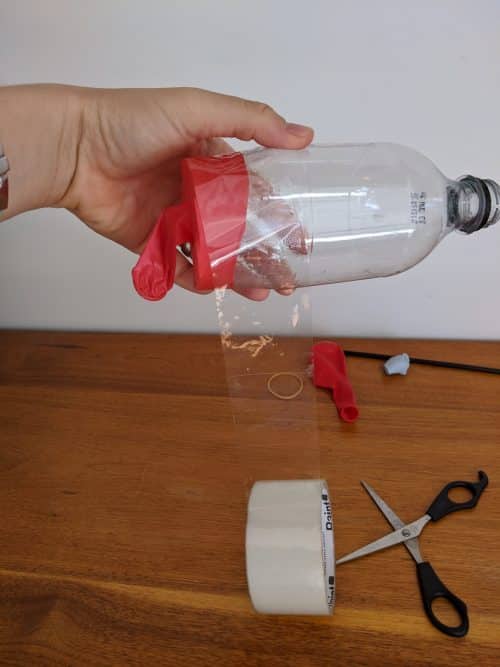
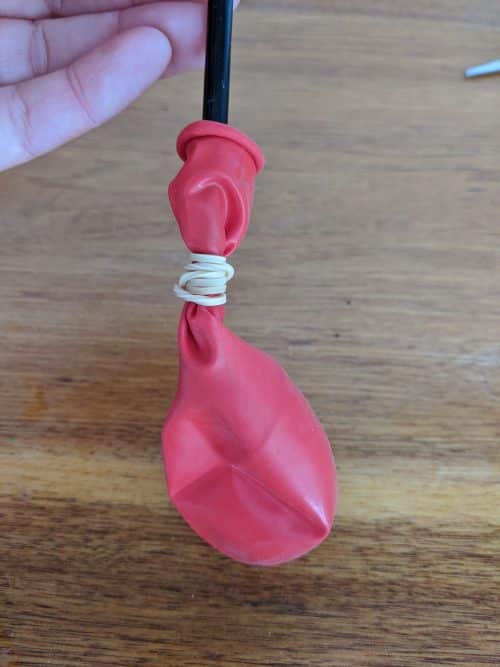
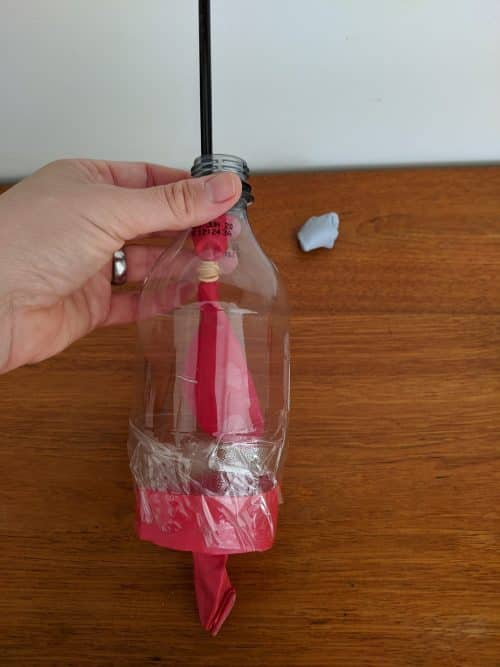
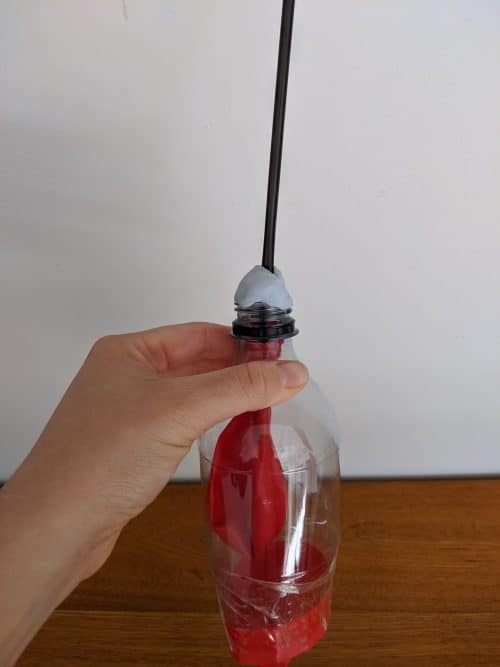
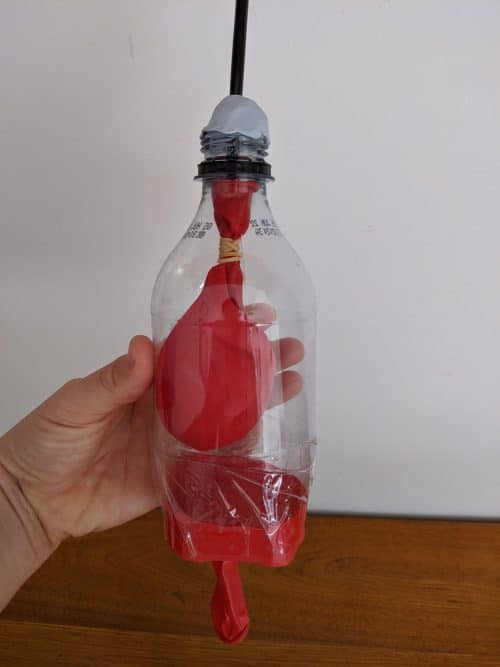
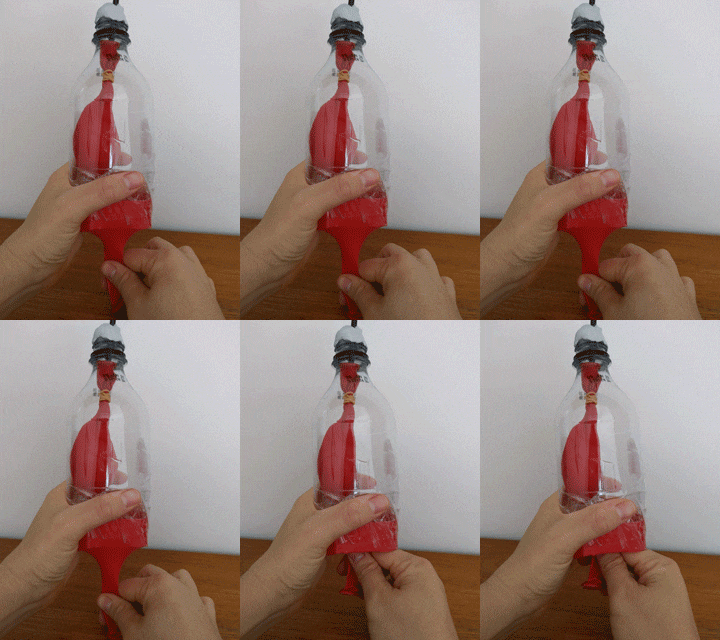
You can see this same principle at work in this ‘homemade lung’. When you pull on the diaphragm balloon, it lowers the air pressure in the bottle. This pulls in air from outside the bottle, allowing the balloon at the top – the lung – to inflate.
Variables to test
- Change the size of the balloons.
- Change the size of the bottle.
- Can you make this work with more than one balloon as a “lung”
Teaching about the human body? From 5 senses to the skeletal system, the Human Body workshop has you covered!
Get in touch with FizzicsEd to find out how we can work with your class.
Human Body
Years 3 to 6
Maximum 30 students
School workshop (NSW only)
60 or 90 minutes
Online Class Available
Liquid Nitrogen Show
Years 7 to 10
Maximum 60 students
Science show
45 minutes
Online Class Available
STEM Full Day Accelerator - Primary
Designed from real classroom experiences, this modular day helps you create consistently effective science learning that directly address the new curriculum with easily accessible and cost-effective materials.






wow thats so cool
Glad you liked it!