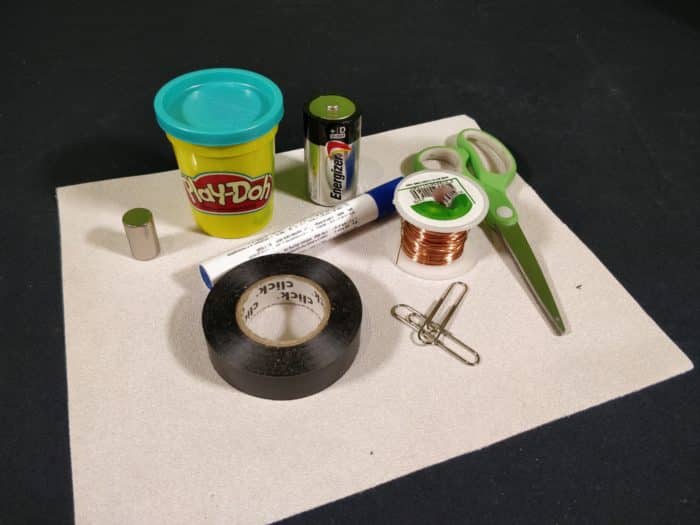
You will need:
- One D cell battery
- Enamelled copper wire-thin gauge
- Insulation tape and wire side cutters.
- Two paperclips and three rubber bands
- Sandpaper square and wooden dowel (approximately 3cm in diameter). We used a whiteboard marker!
- Neodymium magnet-button magnets may not be strong enough for you
- Optional: play dough to help stand the magnet motor
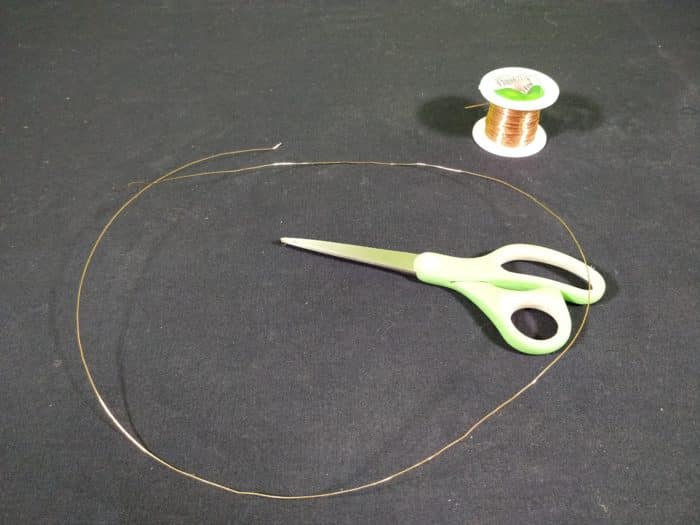
Using the side cutters, cut a 60cm length of enamelled copper wire
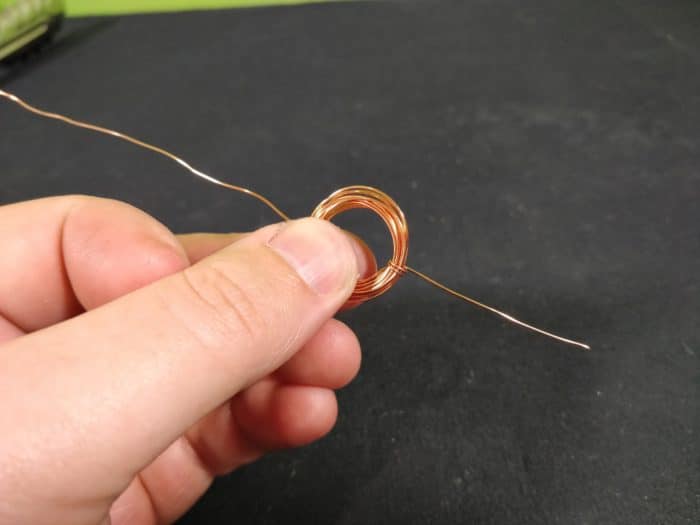
“Beginning the wire coil for the motor”
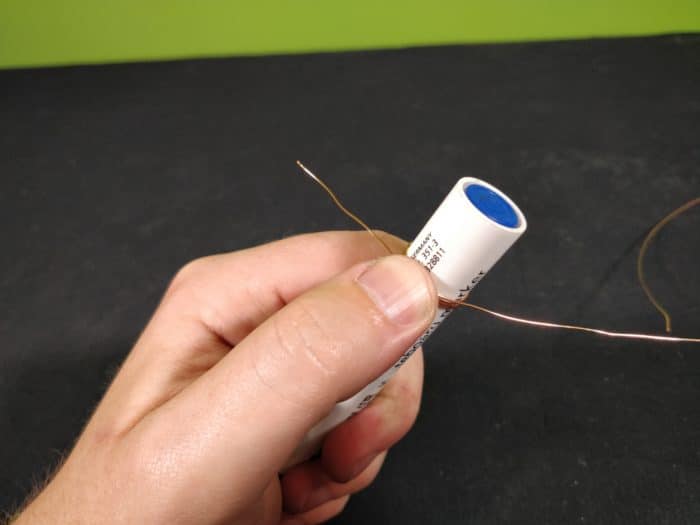
Leaving at least 5cm of wire-free, begin to tightly wrap the enamelled wire around the wooden dowel, marker or similar as shown. You’ll use the 5cm of wire to tie the coil tight later.
“Wrapping the enamelled wire around the wooden dowel.”
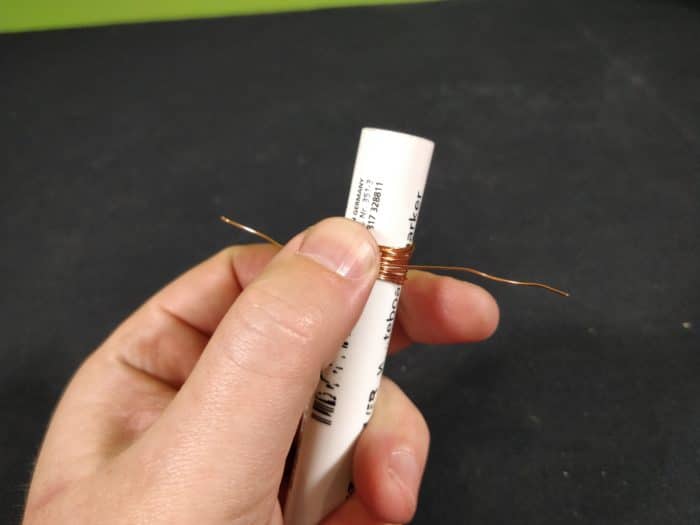
Keep wrapping the wire into a tight coil as shown, again leaving around 5 cm of wire at the end of the coil for tying the coil together.
“One side of the coil wrapped up”
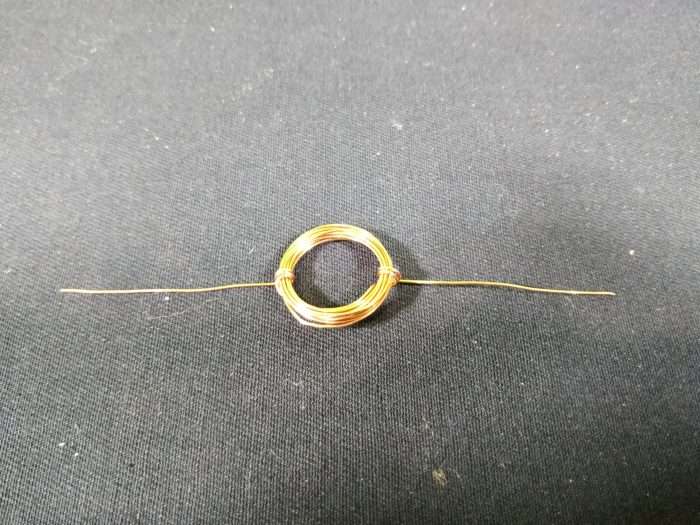
“One side of the coil wrapped up”
Gently pull the coil off the wooden dowel stick. Wrap the 5cm ends of the wire around opposite ends of the coil so that the free ends of wire protrude off the wire coil evenly as shown.
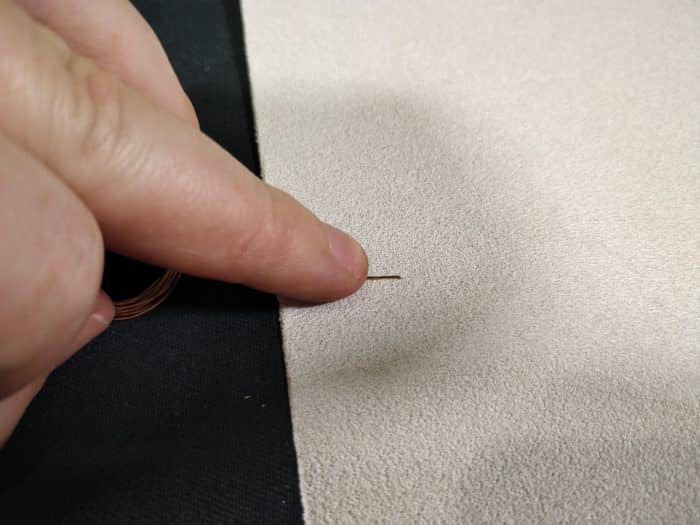
Using the sandpaper, gently sand off the enamel off the top and one side of each of the protruding wires on your coil. It is critical that you sand off the same side of wire on both ends (i.e. sand both wires on the left side and both on the top, leaving both wires with shiny metal exposed in the same spots). This is often the source of issues from students, make sure that there is still enamelled wire present on the underside of the wire. Basically, the wire that has no enamel will act as an ‘on switch’ and the wire with enamel still on it will act as an ‘off switch’. Both ends of wire need to work together in unison so it is critical that you get this right.
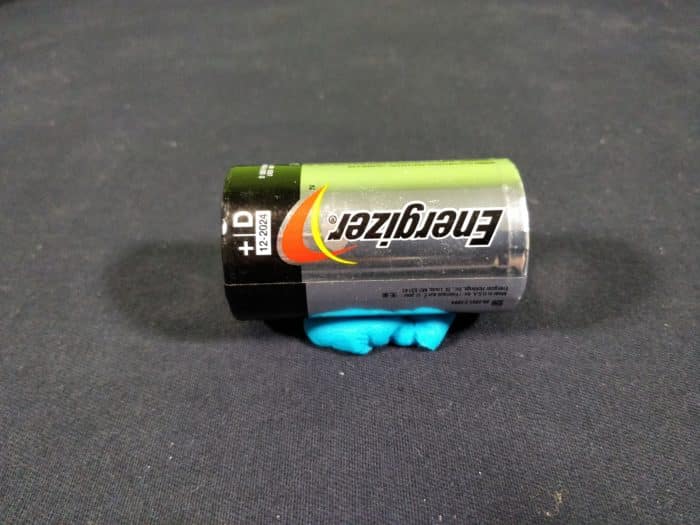
“D cell battery ready to be made into a motor”
Tie the 3 rubber bands onto the batter as shown in the picture below. The idea is that the rubber bands will help secure your paperclips later in the procedure. You can use the optional play dough on the base to help keep the D cell battery from moving.

“Bent paperclip for a simple motor”
Bend the two paper clips as shown.
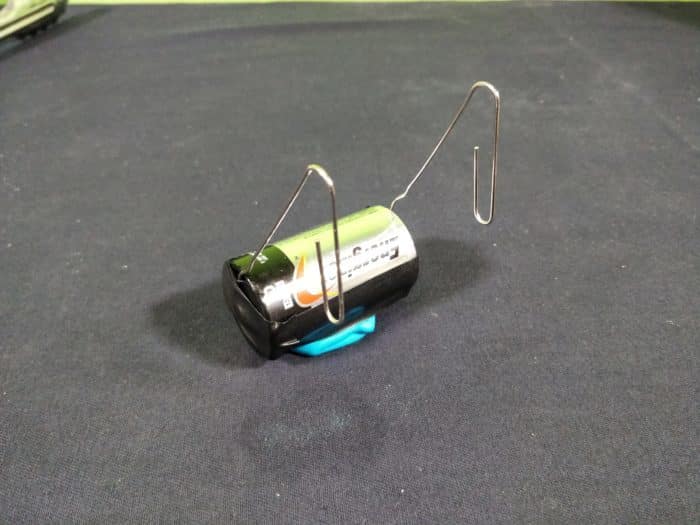
“Paperclips on the D cell battery for a simple motor construction”
Secure the paper clips to either side of the D cell battery using the rubber bands. You can also use the insulation tape at this point to make the paper clips more secure.
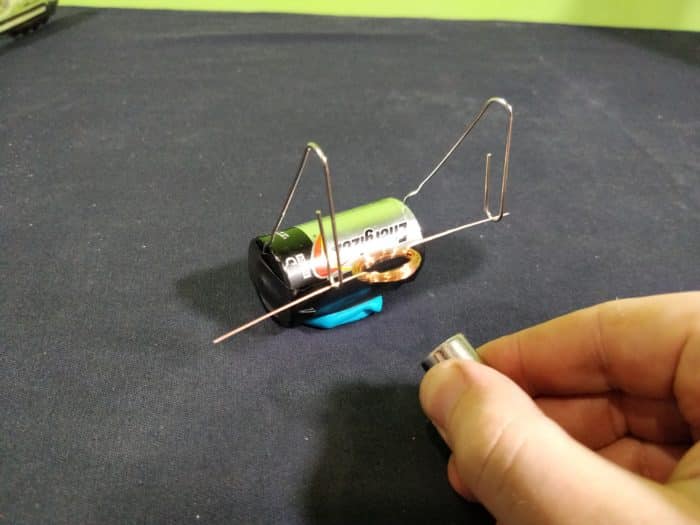
“Simple motor spinning”
Gently place the coiled enamelled wire you prepared earlier into the paper clip holders and then put a neodymium magnet (or strong button magnet) near the coiled wire… if you have set it up correctly the coiled wire will spin. If you want to leave this running, place the magnet on top of the D cell battery so that it sits directly underneath the middle of the coiled wire. Voila!
Tip: move the paper clips to get the coil to be well balanced. You might need to adjust the coil a few times to get it to balance as well.

Get the Electricity & Magnetism Unit of Work here!
- How does electricity actually flow?
- What makes magnets become magnetic?
- Why is there electromagnetism and what does this tell us about electricity & magnetism?
- From series & parallel circuits to conductors & insulators, there’s a lot to explore & learn!
Includes cross-curricular teaching ideas, student quizzes, a sample marking rubric, scope & sequences & more.
![]()
School science visits since 2004!
– Curriculum-linked & award-winning incursions.
– Over 40 primary & high school programs to choose from.
– Designed by experienced educators.
– Over 2 million students reached.
– Face to face incursions & online programs available.
– Early learning centre visits too!
![]()
Online courses for teachers & parents
– Help students learn how science really works
![]()
Why Does This Happen?
A magnetic field occurs when electricity passes through a wire. This magnetic field surrounds the wire. Wrapping the wire in a tight coil concentrates the magnetic field in the centre of the coil. As the enamelled wire had alternate off/on positions from the sanding, you were able to get the circuit to turn on and off as it spins. Every time the current flowed you would get a small magnetic field which would then react against the neodymium magnet you placed on the D cell.
The polarity of the magnetic field in the coil wire would have been determined by the direction you wound the wire (the coil would have been either attracted or repelled by the magnet). As the coil would have turned off when the enamel touched the paperclips, the magnetic field within the wire would have also turned off thereby not causing the coiled wire to have a field (the off position). Momentum from the moving coiled wire allowed the wire to move past the ‘off position’. The motor will continue to spin as long as there is charge within the D cell battery.
Variables to test
- What happens if you use a weaker magnet?
- What happens if you use wire that does not have enamel around it?
- Does it matter about the strength of your batteries?
- What about the distance of the coil from the magnet

Electrical Circuits
Years 3 to 6
Maximum 30 students
School workshop (NSW & VIC)
60 or 90 minutes
STEM Full Day Accelerator - Primary
Designed from real classroom experiences, this modular day helps you create consistently effective science learning that directly address the new curriculum with easily accessible and cost-effective materials.


it is amazing I think I am going to be a amzed when I build it.
Awesome, we’d love to hear how it goes!