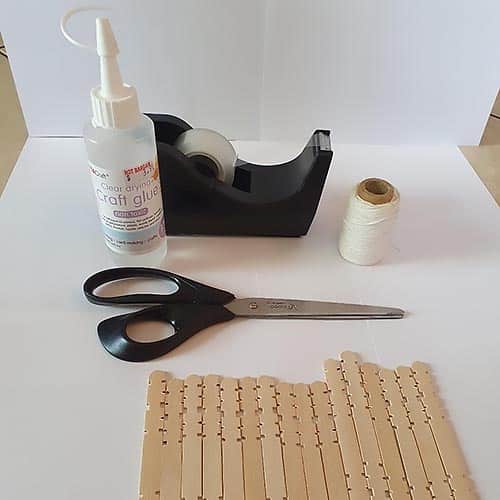
You will need:
- 16 Craft Paddle Pop sticks. You might find that tongue depressors are easier to work with as they are larger and easier to cut. Have some spare ones on hand in case you break the sticks in the process.
- Craft PVA Glue. If you have a hot glue gun this will be stronger and the setup will be faster too.
- Sticky tape
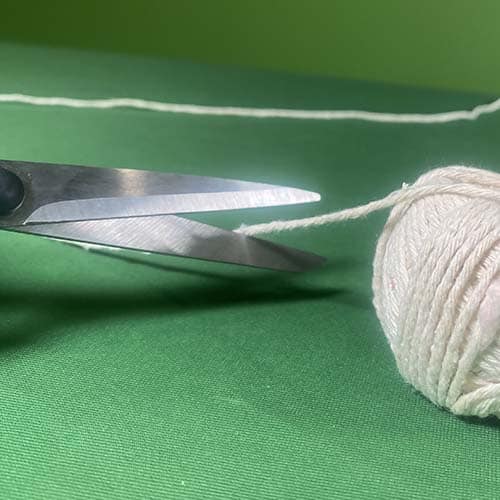
- Scissors (side cutters can be very handy for making notches in the paddle pop sticks)
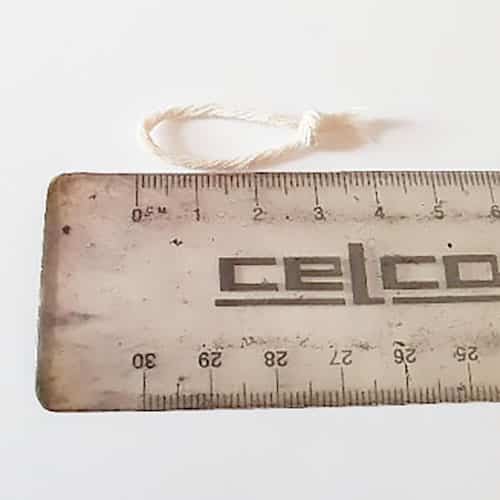
- String
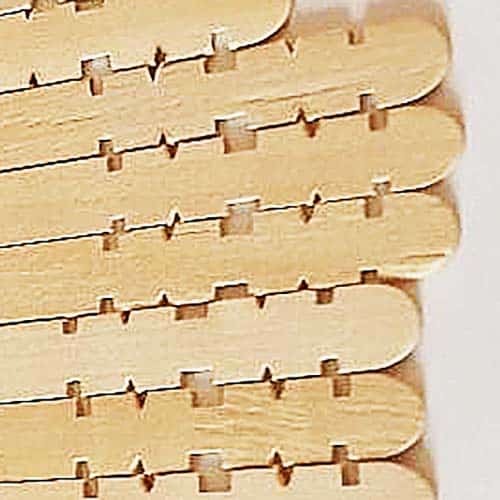
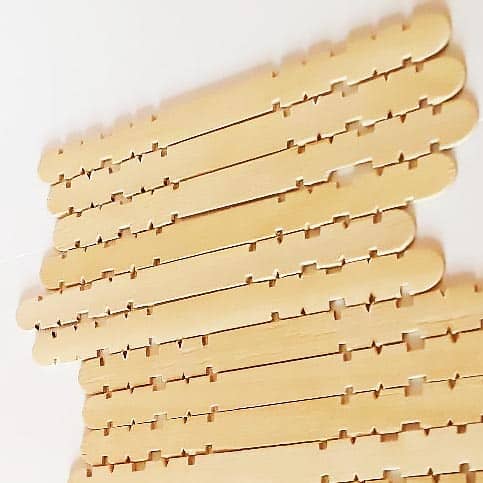
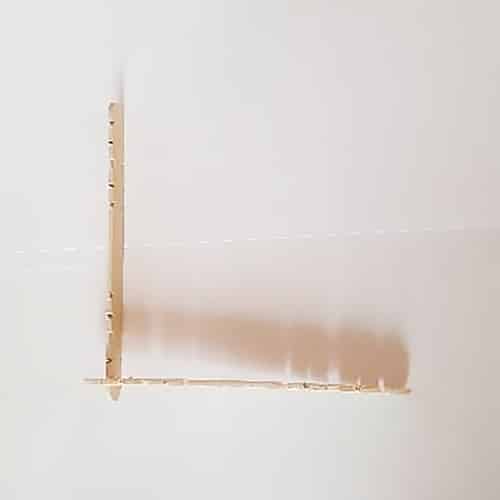
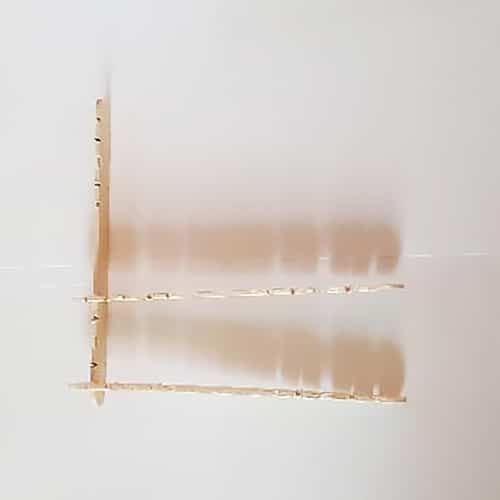
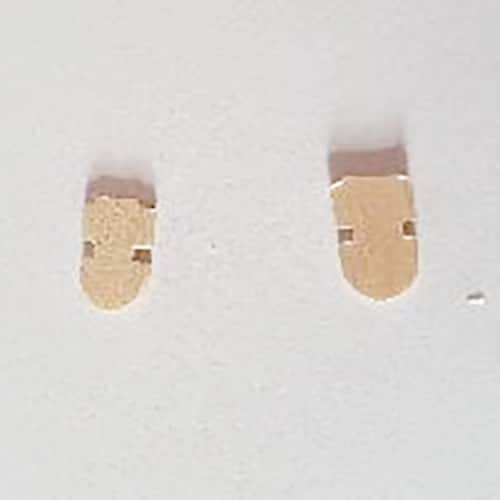
Make 2 groups of 5 notches on both ends of each paddle pop, making sure that the notches are directly opposite each other.
The shapes of each notch matter – look closely at the image. Starting from the end of the paddle pop stick, you can see that for each side;
- The first notch is square-shaped (large enough to fit another paddle pop stick in it).
- The second notch is a simple V-shaped cut.
- The third notch is a wider rectangular notch.
- The fourth cut is another V-shaped cut.
- The fifth notch is square-shaped, just like the first one.
School science visits since 2004!
– Curriculum-linked & award-winning incursions.
– Over 40 primary & high school programs to choose from.
– Designed by experienced educators.
– Over 2 million students reached.
– Face to face incursions & online programs available.
– Early learning centre visits too!
What is going on?
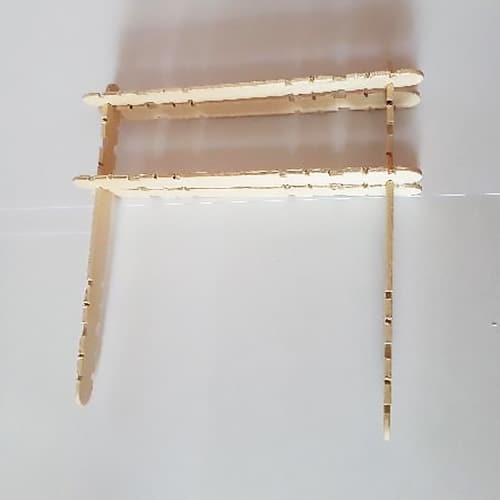
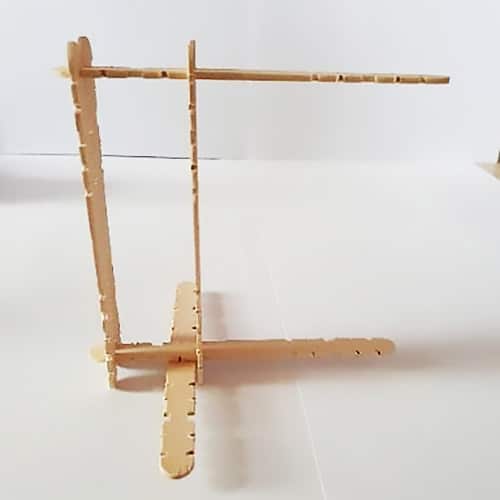
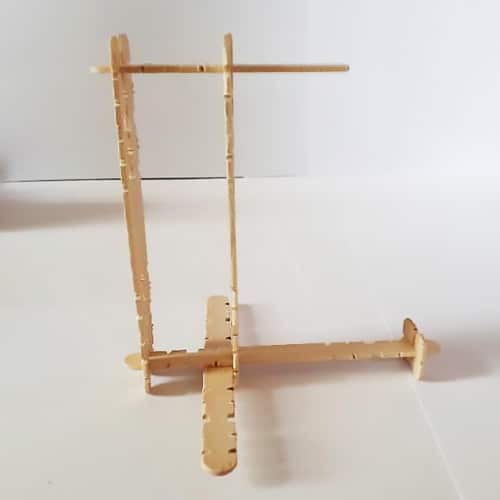
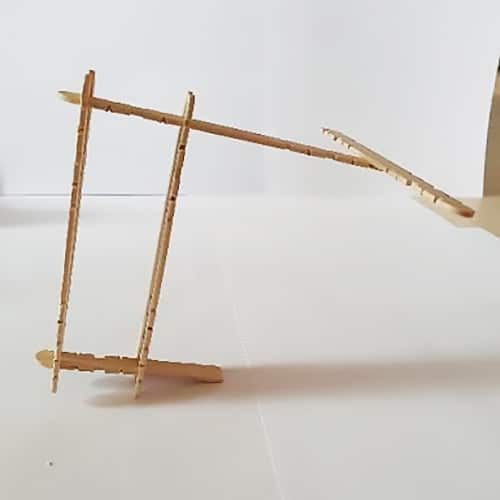
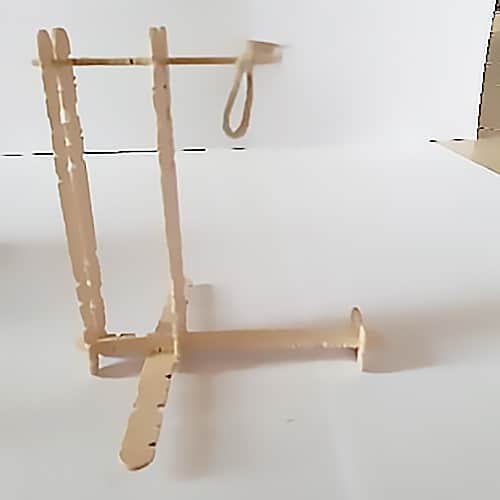
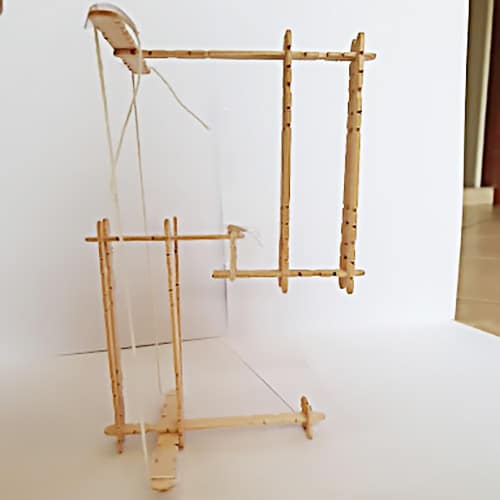
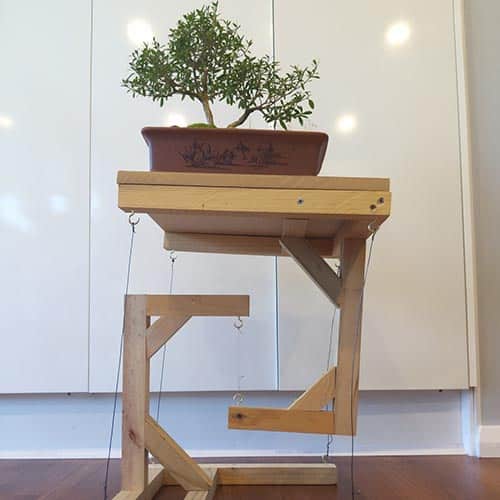
Tensegrity explores materials & components being under compression, that are balanced out by a tension force to create a “floating structure”. Gravity pushing down on the paddle pop sticks puts the structure under compression. The string then exerts a tension force equal to gravity, which balances out the forces, creating tensegrity.
Applications
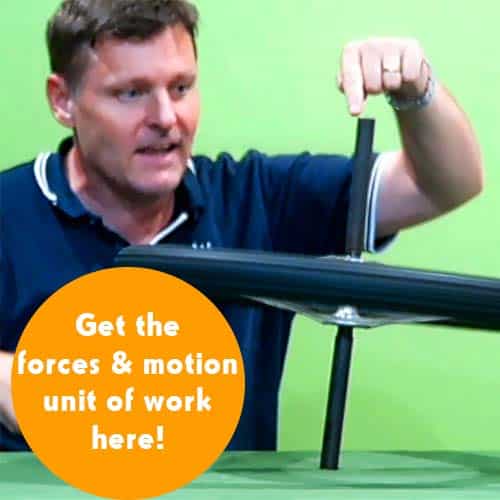
Tensegrity is seen in all sorts of natural processes. Spider web uses the properties of tensegrity to be one of the strongest materials in the world. Engineers use tensegrity to create structures, this can be seen in the Spodek stadium in Poland, the Kuripla bridge in Brisbane and Hirshorns’ needle tower in the USA. Bike wheels also use tensegrity to hold themselves together. Finally, our human body is a perfect example of tensegrity where the muscles and ligaments are under compression, and our bones are under tension.
The main benefit of tensegrity is that you can stabilise a structure through tension. Additionally, structures using tensegrity are easily tunable and can be moved and deployed in multiple situations (you can buy camping tents that use tensegrity too!)., Deployable, Efficient Structures, Reliable modelling, Perform multiple functions.
Another version to make!
Variables to Explore
- Try changing the length of the strings and see what happens
- Try changing to a thinner string, and see if it still works.
- Try adding a tiny weight to the structure. How much can your structure hold?
Forces, Friction & Movement
Years K to 6
Maximum 30 students
School workshop
60 or 90 minutes
Online Class Available
STEM Full Day Accelerator - Primary
Designed from real classroom experiences, this modular day helps you create consistently effective science learning that directly address the new curriculum with easily accessible and cost-effective materials.
Space Science Parties
Launch rockets!
Make 'Alien' slime!
Discover how spaceships work
All about our cosmos and more
From $395 inc. GST








Comments