Colourful currents Follow FizzicsEd 150 Science Experiments: Comments 1 You will need 2 glass bottles with wide openings (we used milk bottles) 2 different food colours (we used yellow and blue) Hot water from the tap Cold water A tray An index card Optional: a freezer, thermometer and a stopwatch Copyright Instruction 1 Fill one of the glass bottles to the top with water and place into the freezer. You don’t want to freeze the water, you just want to chill it. Wait roughly 5 to 10 minutes. This step isn’t absolutely essential but it certainly makes the temperature difference between the bottles more pronounced. 2 When the cold water bottle is chilled, fill the other bottle with hot water to the top from the tap. Caution – if your tap is very hot use an adult’s help. 3 Place both bottles onto the tray. Add blue food colouring to the hot water and yellow food colouring to the cold water. 4 Keeping the index card as flat as possible, place the index card over the top of the yellow hot water bottle. Don’t squish down on the card, you just want to seal the bottle. 5 Carefully turn the cold yellow water bottle upside-down whilst gently pushing the index card upwards to keep the water sealed by the index card. If the seal is intact, you should be able to take your hand away from underneath the card and the water shouldn’t fall out. This works due to air pressure in the room pushing the water upwards. Full explanation in the upside-down water cup experiment here. 6 Carefully place the cold yellow water bottle directly over the top of the hot blue water bottle. Make sure that the openings of the bottles line up as close as possible! 7 Moment of truth! Holding the top water bottle, gently pull the index out of between the two glass bottles. You should see currents of hot blue water rise into the cold water and currents of cold yellow water fall down into the blue water. 8 As the experiment progresses you should find that the colours mix to form green. The currents will stop moving once both water bottles are the same temperature. How long did this take? 9 Get the Unit of Work on Heat Energy here! What actually is heat? How does heat move through different materials? How does heat change the properties of materials and more! Includes cross-curricular teaching ideas, student quizzes, a sample marking rubric, scope & sequences & more 10 School science visits since 2004! – Curriculum-linked & award-winning incursions. – Over 40 primary & high school programs to choose from. – Designed by experienced educators. – Over 2 million students reached. – Face to face incursions & online programs available. – Early learning centre visits too! 11 Online courses for teachers & parents – Help students learn how science really works What is going on? Hot water rises and cold water falls! More specifically, hot water is less dense than cold water. When you removed the index card from between the two bottles, the dense cold water in the top bottle dropped downwards and the less dense hot water rose to the top of the bottles. Why does this matter? Liquids and gases both will move due to density differences. Because of this, water will move throughout the ocean due to uneven heating and different salinity levels causing density differences which then drives the water currents. The atmosphere also moves due to uneven heating, helping to cause changes in weather patterns. When we see the movement of liquids or gases due to uneven heating it is known as convection. Variables to change in this experiment The temperature differences between the two bottles of water The opening size of the bottles… does this matter? Does this experiment work with salty vs. freshwater? Does this experiment work with different liquids? Learn more! Hot & Cold Workshop Years 1 to 6 Maximum 30 students School workshop (NSW & VIC) 60 or 90 minutes Online Class Available Read More Enquire Now STEM Full Day Accelerator - Primary Designed from real classroom experiences, this modular day helps you create consistently effective science learning that directly address the new curriculum with easily accessible and cost-effective materials. Read More Enquire Now Hands-on Kids Science Party >20 hands on science experiments Gigantic bubbles Slime making Professional science show From $395 inc. GST Read More
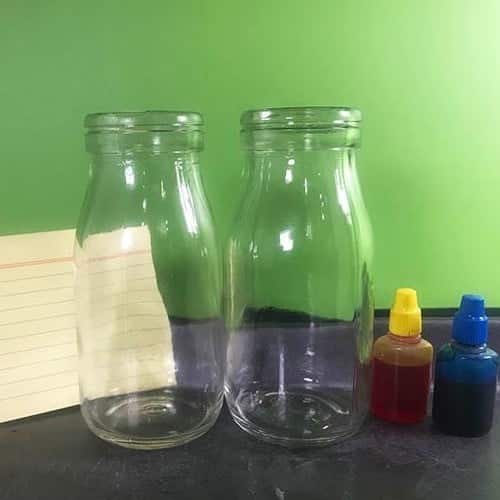
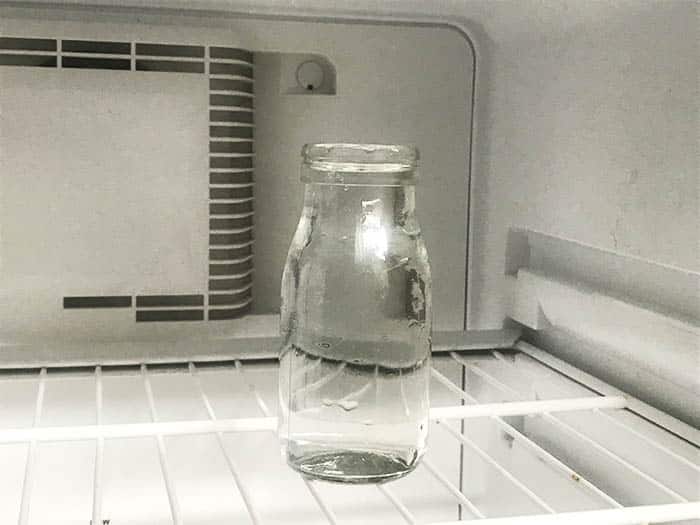
Fill one of the glass bottles to the top with water and place into the freezer. You don’t want to freeze the water, you just want to chill it. Wait roughly 5 to 10 minutes. This step isn’t absolutely essential but it certainly makes the temperature difference between the bottles more pronounced.
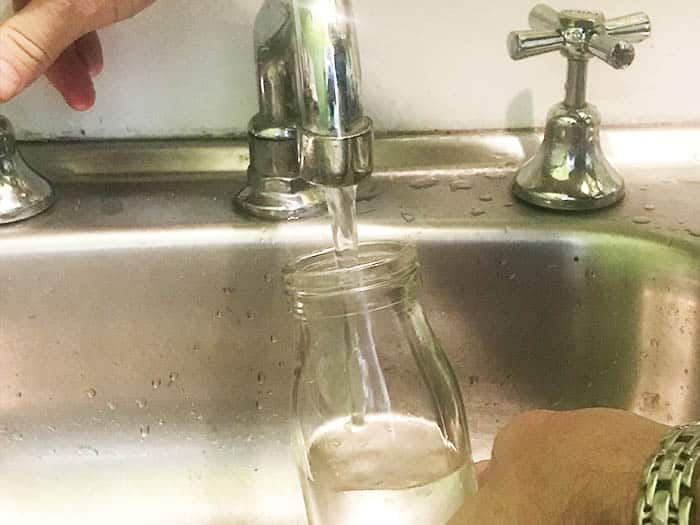
When the cold water bottle is chilled, fill the other bottle with hot water to the top from the tap. Caution – if your tap is very hot use an adult’s help.
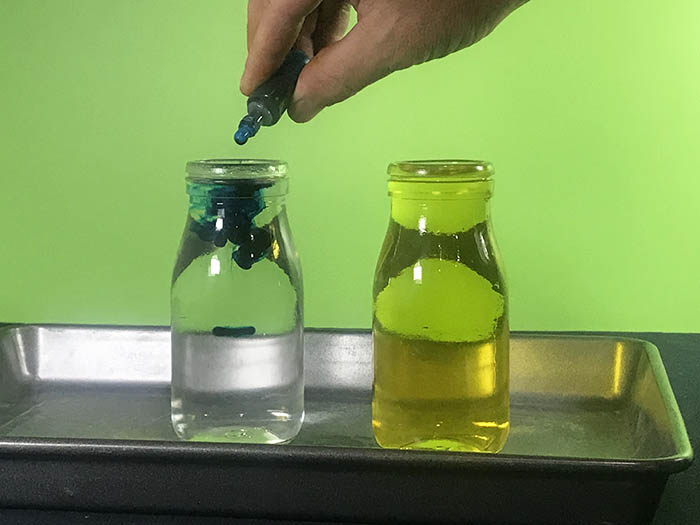
Place both bottles onto the tray. Add blue food colouring to the hot water and yellow food colouring to the cold water.
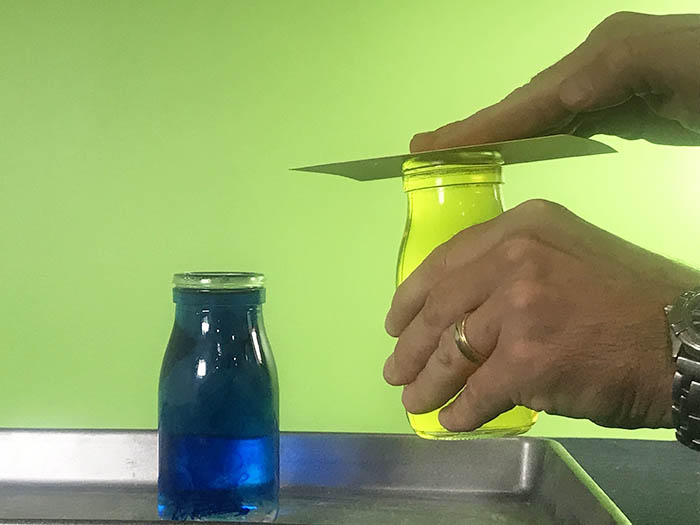
Keeping the index card as flat as possible, place the index card over the top of the yellow hot water bottle. Don’t squish down on the card, you just want to seal the bottle.
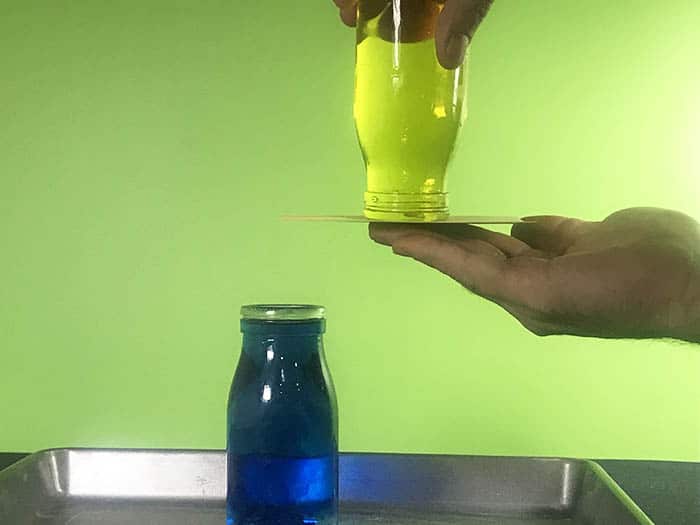
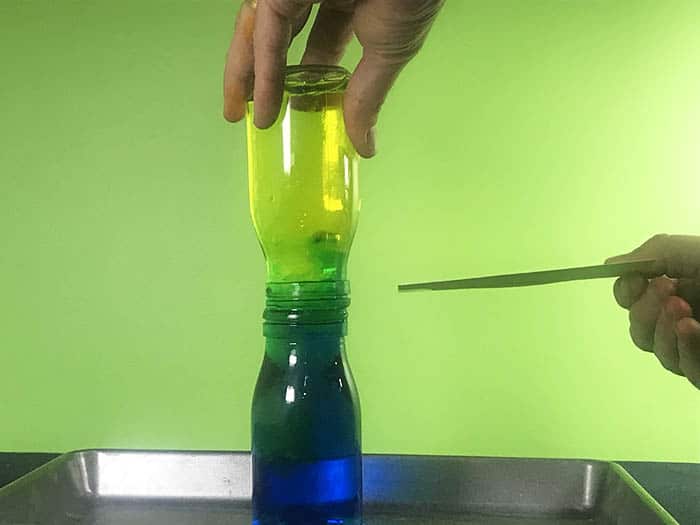
Carefully turn the cold yellow water bottle upside-down whilst gently pushing the index card upwards to keep the water sealed by the index card. If the seal is intact, you should be able to take your hand away from underneath the card and the water shouldn’t fall out. This works due to air pressure in the room pushing the water upwards. Full explanation in the upside-down water cup experiment here.
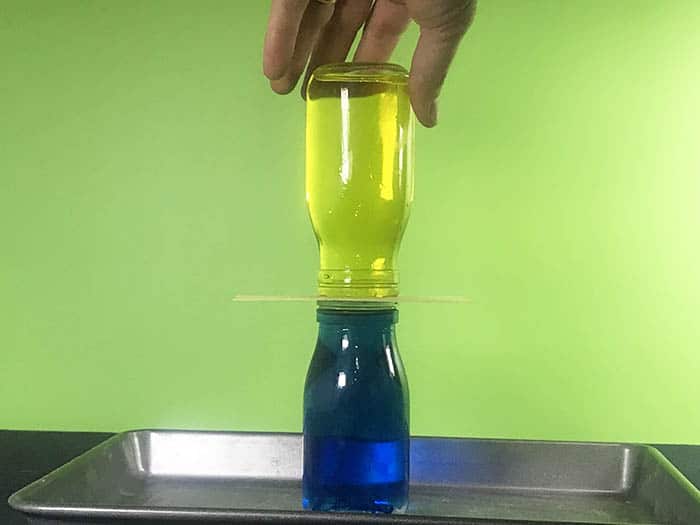
Carefully place the cold yellow water bottle directly over the top of the hot blue water bottle. Make sure that the openings of the bottles line up as close as possible!
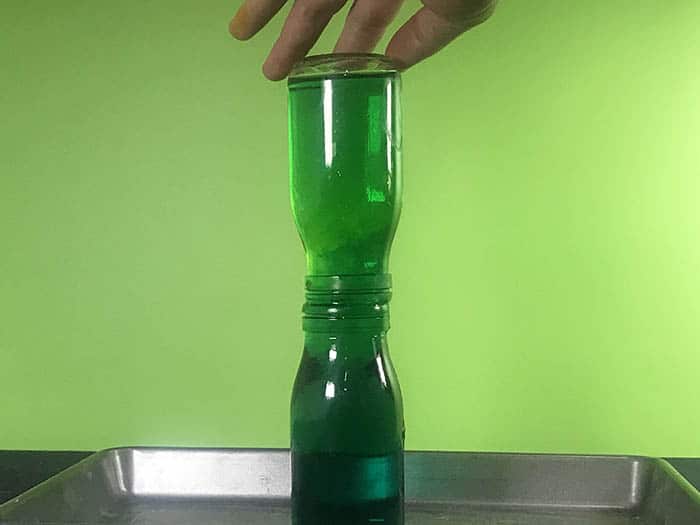
Moment of truth! Holding the top water bottle, gently pull the index out of between the two glass bottles. You should see currents of hot blue water rise into the cold water and currents of cold yellow water fall down into the blue water.
As the experiment progresses you should find that the colours mix to form green. The currents will stop moving once both water bottles are the same temperature. How long did this take?
Get the Unit of Work on Heat Energy here! What actually is heat? How does heat move through different materials? How does heat change the properties of materials and more! Includes cross-curricular teaching ideas, student quizzes, a sample marking rubric, scope & sequences & more
School science visits since 2004! – Curriculum-linked & award-winning incursions. – Over 40 primary & high school programs to choose from. – Designed by experienced educators. – Over 2 million students reached. – Face to face incursions & online programs available. – Early learning centre visits too!
Hot & Cold Workshop Years 1 to 6 Maximum 30 students School workshop (NSW & VIC) 60 or 90 minutes Online Class Available Read More Enquire Now
STEM Full Day Accelerator - Primary Designed from real classroom experiences, this modular day helps you create consistently effective science learning that directly address the new curriculum with easily accessible and cost-effective materials. Read More Enquire Now
Designed from real classroom experiences, this modular day helps you create consistently effective science learning that directly address the new curriculum with easily accessible and cost-effective materials.
Hands-on Kids Science Party >20 hands on science experiments Gigantic bubbles Slime making Professional science show From $395 inc. GST Read More
>20 hands on science experiments Gigantic bubbles Slime making Professional science show From $395 inc. GST
This website uses cookies to improve user experience. By using our website you consent to all cookies in accordance with our Cookie Policy.
Thank you for looking to subscribing to our newsletter 🙂 Through this service you’ll be first to know about the newest free experiments, science news and special offers. PLUS: Get a free Kitchen Chemistry Booklet with >20 experiments, how to use variables plus a handy template!
Please fill out the details below and an email will be sent to you. Once you get that just click on the link to confirm your subscription and you're all done!