You will need
- A model of the Earth (alternatively a basketball or soccer ball)
- A lamp
- A ping pong ball (or a tennis ball).
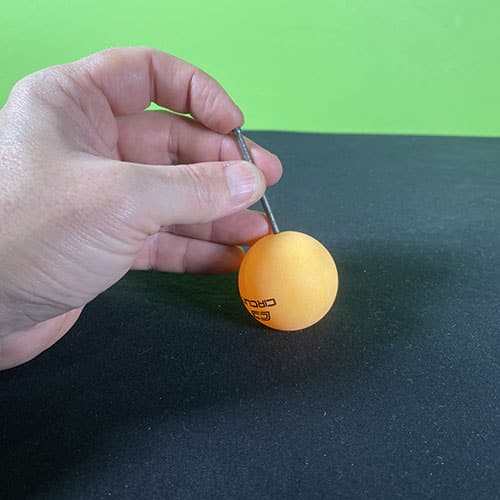
- Optional – a nail to hold the ping pong ball. You could also suspend a totem tennis ball too but you might get shadows from the string.


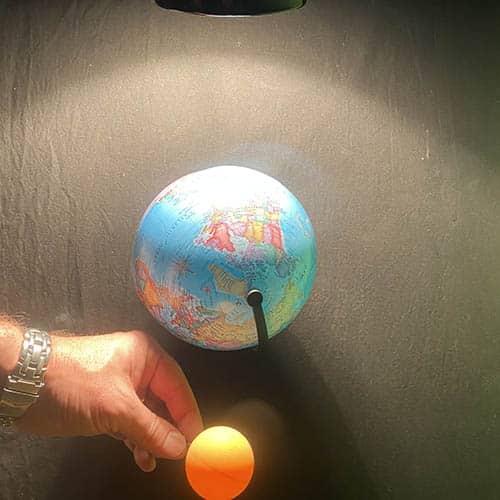
Now move the ping pong ball to the side of the Earth model. If you look from the Earth towards the ping pong ball, you can see that one half is illuminated and the other half is in shadow.
This position is known as first quarter. Once the Moon travels around to the other side of the Earth, we would call this third quarter.
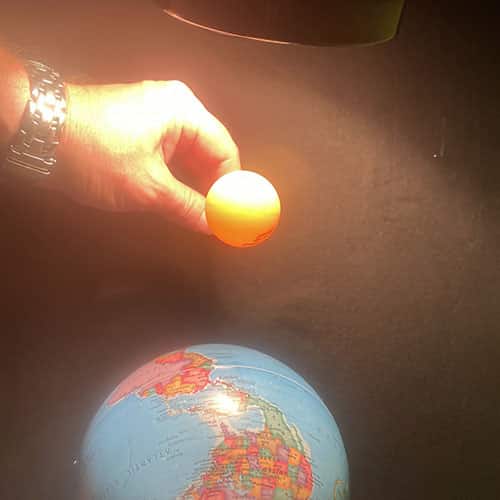
Finally, move the ping pong ball behind the Earth model so that the lamp is on the opposite side of the Earth. You’ll find that the side of the ping pong ball facing toward the Earth is illuminated (unless the ping pong ball is directly behind the Earth model).
If you were looking up to the Moon from the Earth in this position you would see the Moon completely illuminated. This position is called a full moon.
School science visits since 2004!
– Curriculum-linked & award-winning incursions.
– Over 40 primary & high school programs to choose from.
– Designed by experienced educators.
– Over 2 million students reached.
– Face to face incursions & online programs available.
– Early learning centre visits too!
Going further
Moonlight is simply sunlight reflected off the Moon to the Earth. The more that the Moon’s surface is illuminated by Sun, the more of the Moon we get to see! The changes in the phases of the moon is due to the changing position of the Moon as it orbits the Earth. Weirdly, it takes 27 days, 7 hours & 43 minutes for the moon to complete an orbit around the Earth however the cycle of the 8 moon phases take 29.5 days due to changes in the relative position of the Sun, Moon and the Earth.
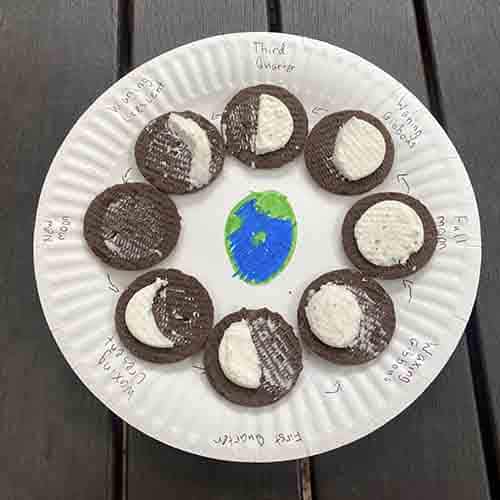
There are 8 phases of the Moon
New Moon
- Occurs when the moon is between the Earth and the Sun, making the illuminated side of the moon face away from us
Waxing Crescent
- The beginnings of the moon to have its surface illuminated where we can see it.
First Quarter
- Half of the moon is illuminated as the moon continues it become more lit up bu the Sun (on the way to full moon).
Waxing Gibbous
- The moon is almost now completely illuminated and we’re on our way towards full moon
Full Moon
- Occurs when the Earth is between the moon and the Sun, so that when we look at the moon its entire face is illuminated.
Waning Gibbous
- The moon begins to become less illuminated as we travel towards new moon.
Third Quarter
- Half of the moon is now in darkness, due to the position of the Sun causing shadowing on half of the moon,
Waning Crescent
- Almost the whole surface of the moon is now in darkness, as the illumination is nearly all on the side of the moon that we can’t see. Next step, back to new moon!
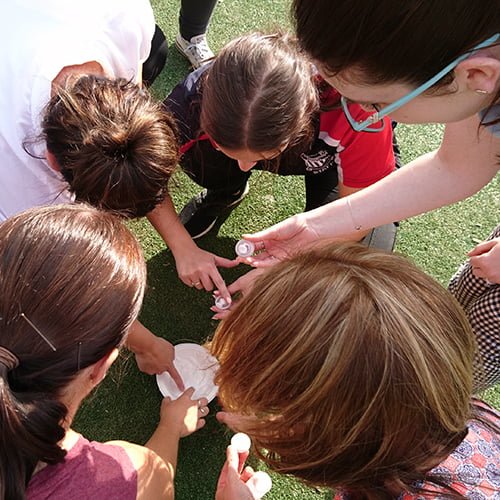
You can also model the phases of the Moon using oreo cookies!
Earth, Sun and Moon
Years 3 to 6
Maximum 30 students
Science workshop (NSW & VIC)
60 or 90 minutes
Online Class Available
Space Science Parties
Launch rockets!
Make 'Alien' slime!
Discover how spaceships work
All about our cosmos and more
From $395 inc. GST
STEM Full Day Accelerator - Primary
Designed from real classroom experiences, this modular day helps you create consistently effective science learning that directly address the new curriculum with easily accessible and cost-effective materials.










Thank you very much for this valuable resources. Really appreciate your team effort, which encourage young Australians to learn more Science.
Thanks Sumedha, we’re glad that you find our free science teaching resources useful!