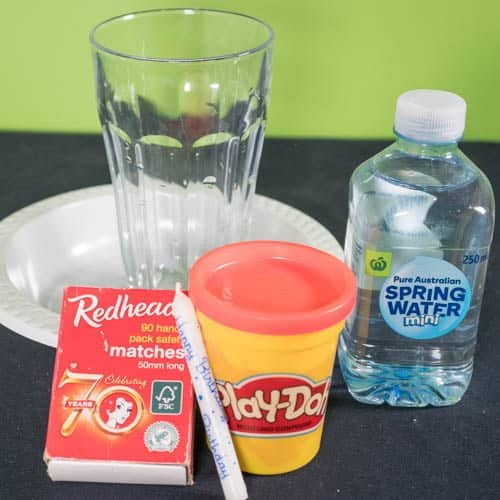
You will need
- A bowl
- A candle
- A clear glass cup that is taller than the candle
- Water
- Playdough
- Matched
- Adult supervision
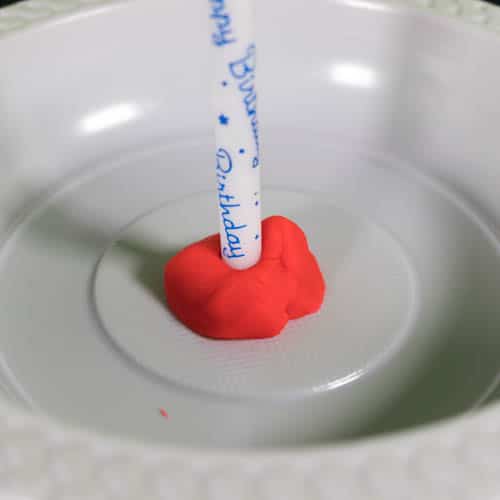
Using the playdough, fix the candle to the bowl so that it sits upright inside the bowl.
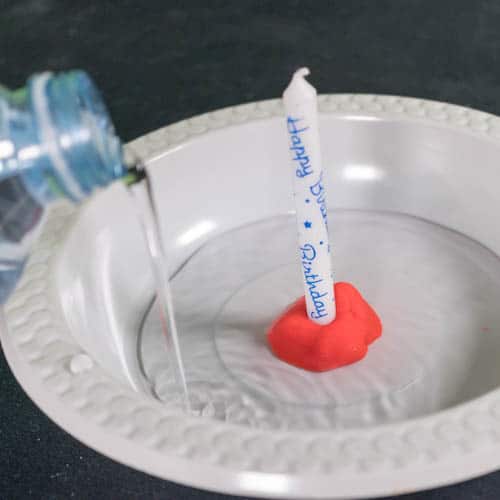
Pour some water into the bowl.

With the matches, light the candle.
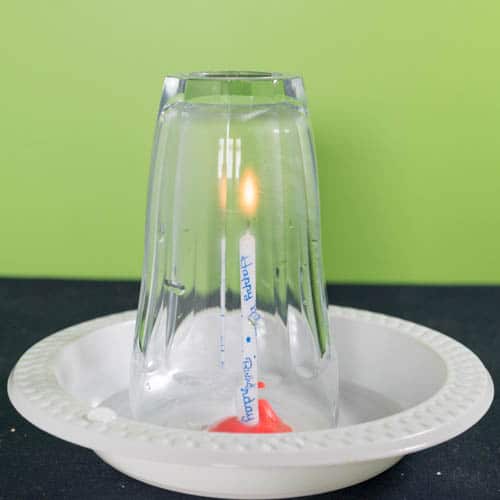
Cover the candle with the glass cup. Watch what happens! If you want, you can add food colouring into the water to make the experiment more visible.

Get the Unit of Work on Pressure here!
Want to dive into air pressure?
Get the 60-minute video + PDFs + curriculum links for your class here!
![]()
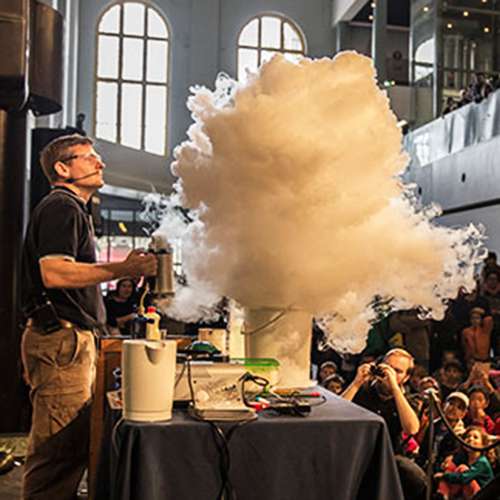
School science visits since 2004!
– Curriculum-linked & award-winning incursions.
– Over 40 primary & high school programs to choose from.
– Designed by experienced educators.
– Over 2 million students reached.
– Face to face incursions & online programs available.
– Early learning centre visits too!
![]()
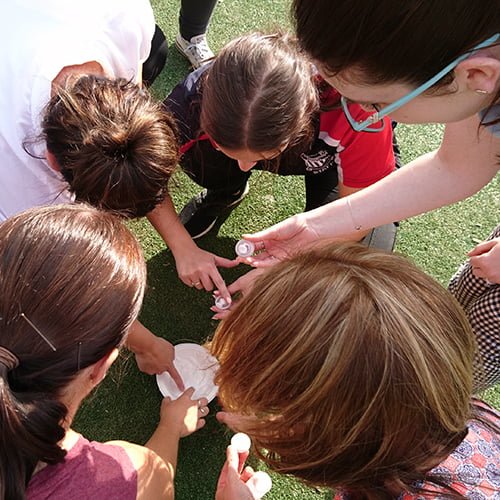
Online courses for teachers & parents
– Help students learn how science really works
![]()
What is happening?
You created an area of low pressure!
When the experiment is run you can see tiny bubbles escaping under the glass which shows that the air pressure increased inside the glass from the heated air as the candle burns. Once the candle runs out of oxygen, the candle burns out and the remaining air inside cools down. Cooling air contracts (see liquid nitrogen on a balloon!) which lowers the air pressure inside the glass. This created a pressure difference between the air inside the glass and the air outside the glass. This pressure difference caused the high-pressure air outside the glass to push the water down into the plate… allowing the water to be pushed upwards into the inside of the glass towards the lower-pressure air inside the glass.
Variables to test
- hot vs. cold water
- Two candles vs. one candle
- What happens when you use different liquids?

- Teaching about air pressure? Check out the Flight or Weather show!
- Teaching about Newton’s laws? Check out the Forces, Friction & Movement workshop!
Get in touch with FizzicsEd to find out how we can work with your class.
![]()
Hot & Cold Workshop
Years 1 to 6
Maximum 30 students
School workshop (NSW & VIC)
60 or 90 minutes
Online Class Available
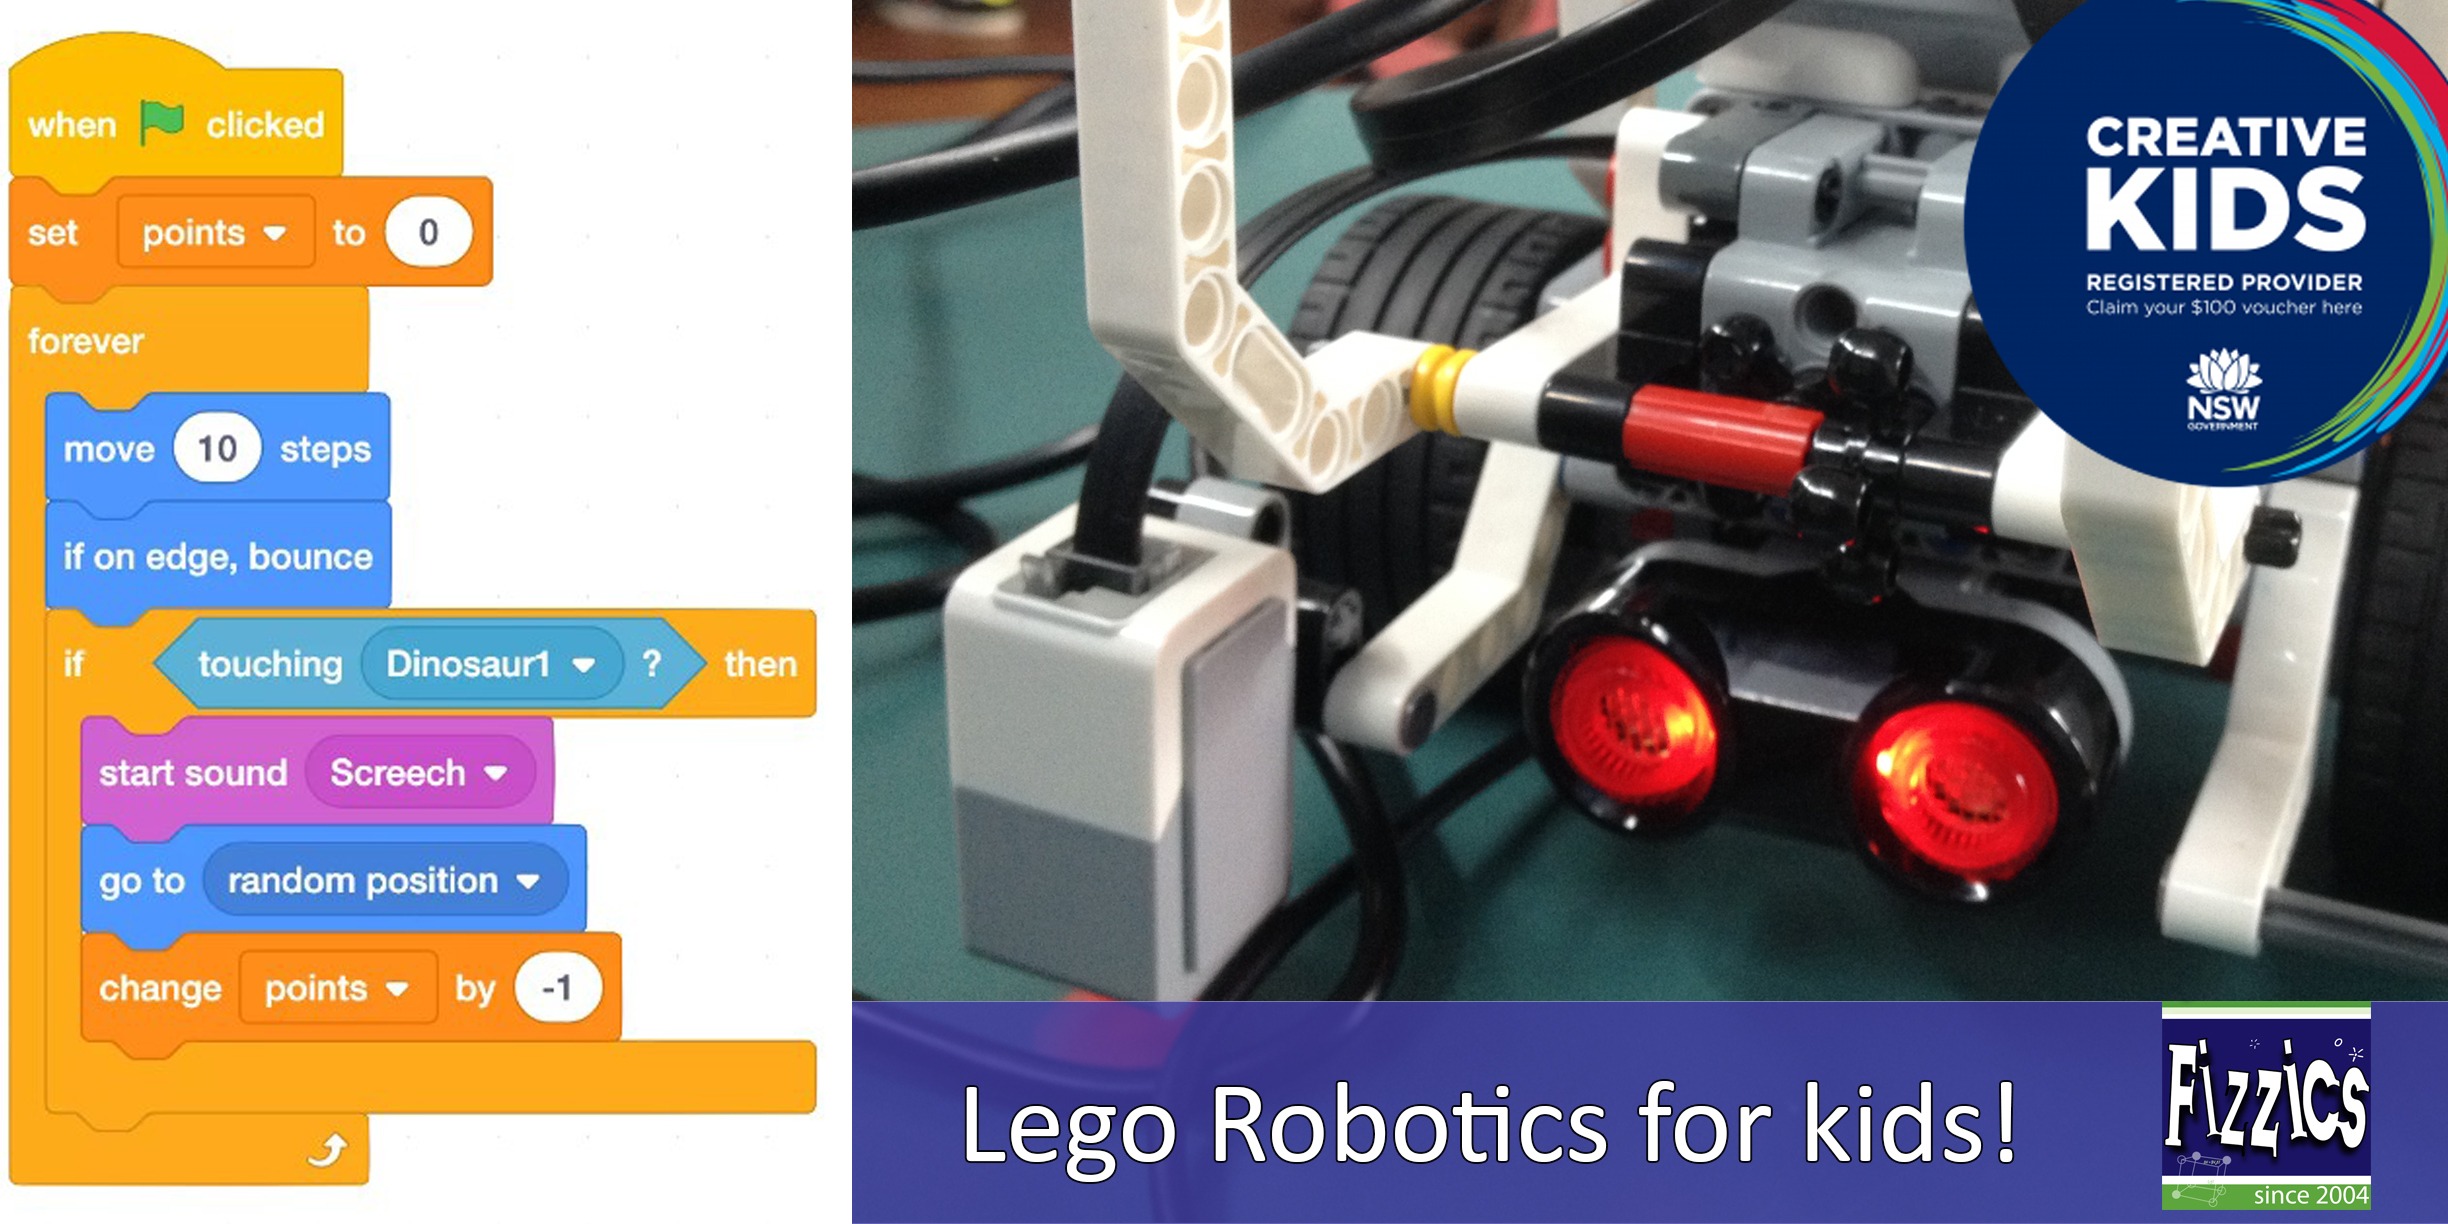
Forces, Friction & Movement
Years K to 6
Maximum 30 students
School workshop
60 or 90 minutes
Online Class Available

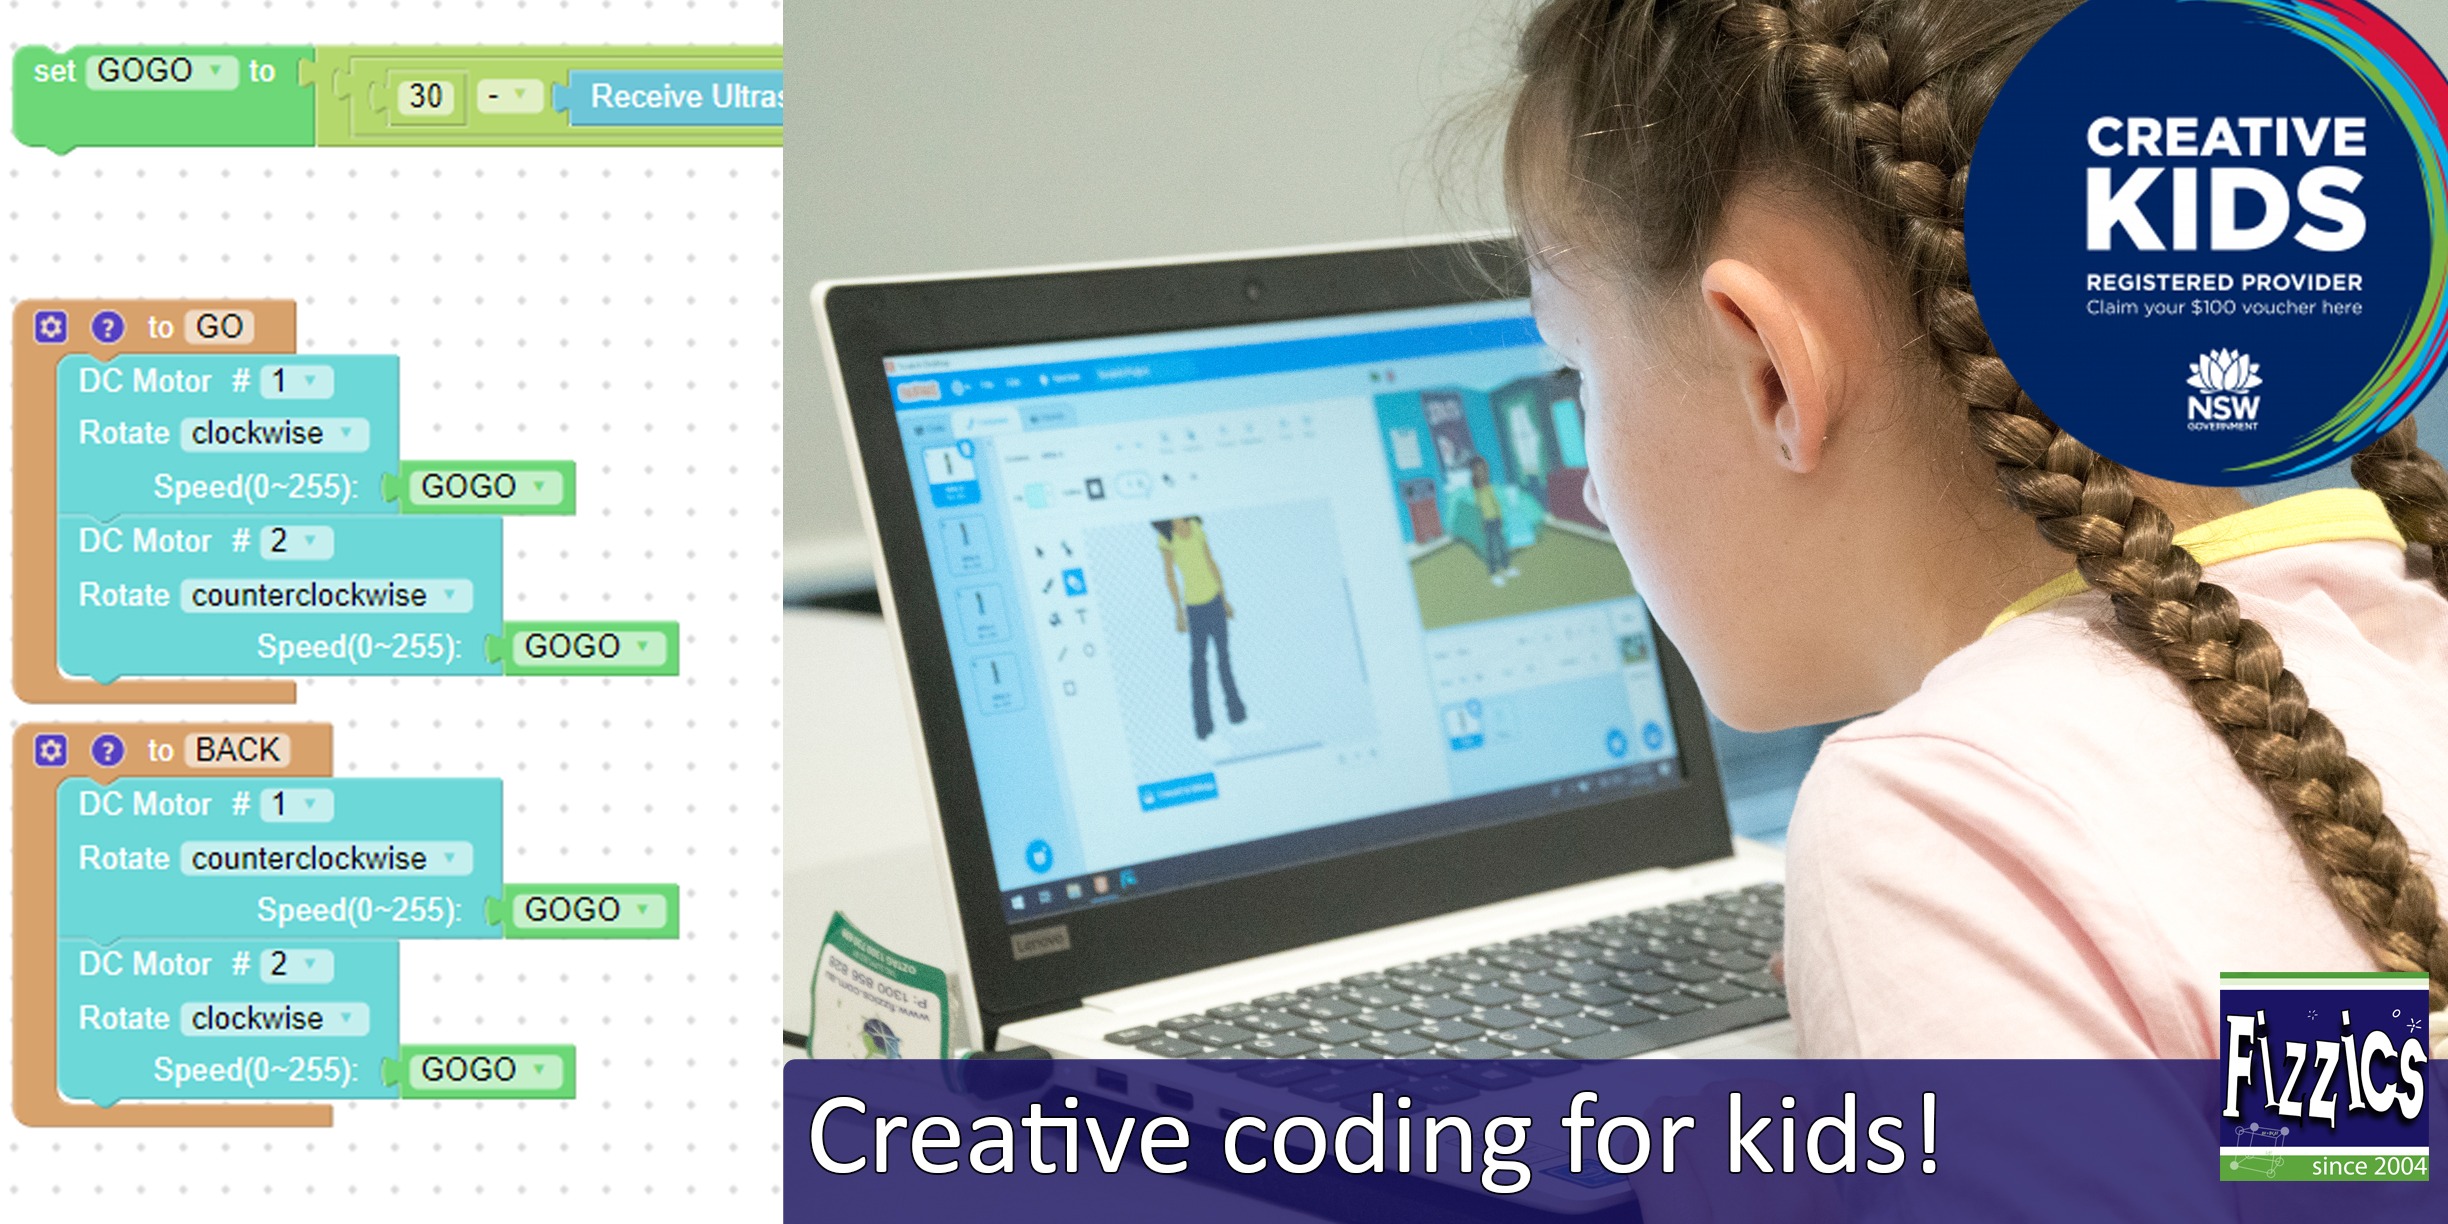
STEM Full Day Accelerator - Primary
Designed from real classroom experiences, this modular day helps you create consistently effective science learning that directly address the new curriculum with easily accessible and cost-effective materials.


Hi
When I was at school 30 years ago the oxygen use causing the rise was taught. Since then, it is my understanding from lots of reading, that the reasons behind the rise are related more to temperature as described nicely by Steve Spangler below.
A common misconception is that the consumption of oxygen by the flame in the container is a factor in the water rising. There may be a slight possibility that there would be a tiny rise in the water from the flame using up oxygen but it’s extremely small compared to the actual reason. Simply put, the water would rise imperceptibly at a steady rate as the oxygen were consumed. You likely saw the level rise almost all at once and pretty much after the flame went out.
At first, the flame heats the air inside the container and this hot air expands quickly. Some of the expanding air escapes from under the vase where you might have seen some bubbles. When the flame fades and goes out, the air in the container cools and cooler air contracts or takes up less space. That contraction creates a weak vacuum – or lower pressure – in the container. Where’s the higher pressure? Right! It’s outside the container pressing down on the water in the dish. The outside air pushes water into the container until the pressure is equalized inside and outside the container. The water stops rising when that pressure equalization is reached.
https://www.stevespanglerscience.com/lab/experiments/why-does-the-water-rise/
Hi Angela,
You’re right and great spot! It looks like this explanation missed the other half of the answer and it’s been updated now. Thanks for the heads up!
Thanks a lot !!! You saved me …? Tmrw was my science test and I was desparatly searching for this answer …
Great experiment to try i tried it and it failed ):
Oh no! How did you set your experiment up? Usually, the failure happens when the water on plate isn’t high enough. Give it a go again!
Yeah I will(: