You Will Need:
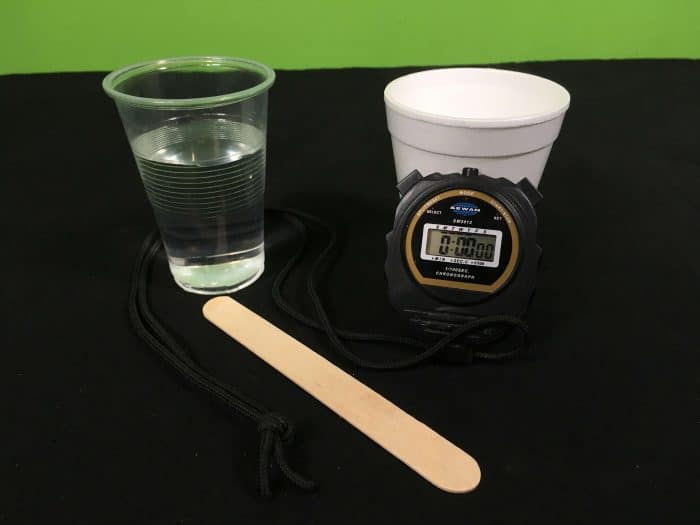
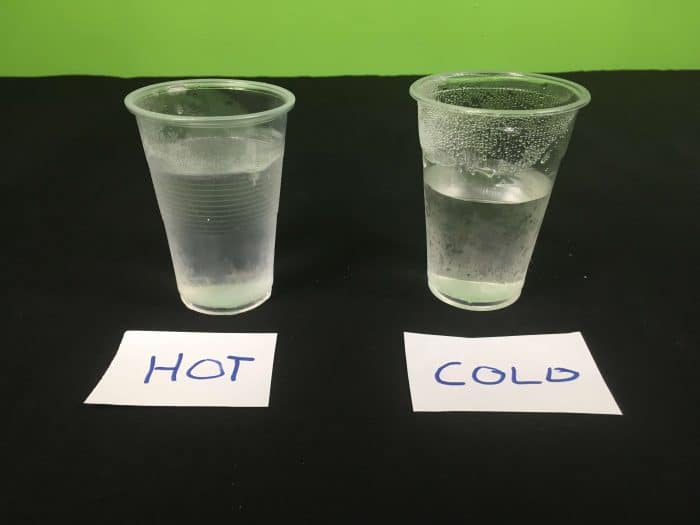
- One cup of cold water, 100mL in volume
- One cup of hot water, 100mL in volume
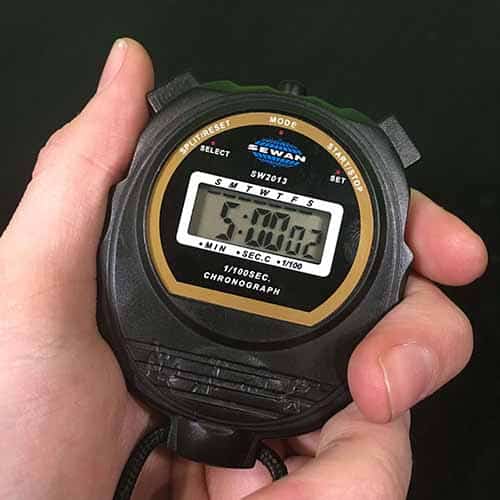
- One Stopwatch
- One Stirrer
- A freezer
- A pen and paper
School science visits since 2004!
– Curriculum-linked & award-winning incursions.
– Over 40 primary & high school programs to choose from.
– Designed by experienced educators.
– Over 2 million students reached.
– Face to face incursions & online programs available.
– Early learning centre visits too!
Why Does This Happen:
Hmmmm, you’ve completed an experiment whose results are quite tricky to explain.
Did you find that the hot water froze first? Under some conditions this can happen…
We started with two containers of water, which were identical in shape and held identical amounts of water. The only difference between the two was that the water in one was at a higher (uniform) temperature than the water in the other. Of course, if the hot water had started at 99.9° C, and the cold water at 0.01° C, then clearly under those circumstances, the initially cooler water would have frozen first. However, under some conditions the initially warmer water will freeze first — if that happens, you have seen the Mpemba effect which describes the phenomenon.
How does it work you might ask? Several ideas have been put forward and no-one really is sure as to which effect plays the biggest role:
1. As the initially warmer water cools to the freezer temperature, it may lose significant amounts of water to evaporation. The reduced mass will make it easier for the warmer water to cool and freeze than the colder water.
2. A convection current may have been setup in the warmer water. As the warmer water cooled it lost heat primarily through the surface of the liquid faster than the colder water. This is due to a great temperature difference between the cold freezer air and the warm water. The water from the bottom of the cup then rose to the water surface, bringing more heat energy to the cold freezer air. As the current is greater in the warmer water than the cold water, a greater amount of liquid got exposed to the cold freezer air. Think of a fan forced oven, circulating the hot air through the oven heats the oven faster than just allowing the air to sit still… bakers have known this over a thousand of years!
More on temperature and water rising or falling
3. The surrounding air around the cups may have more movement around the warmer cup, therefore drawing heat energy away from the warmer cup more effectively.
4. Warm water holds less dissolved gas than cold water. There have been some suggestions that the presence of dissolved gases impede the production of convection currents in the colder water.
5. The cold water may have supercooled, therefore not forming a solid as quick as the hot water.
Quote: “I often put boiling water in the freezer. Then whenever I need boiling water, I simply defrost it.” -Gracie Allen.
Variables to test
- What happens if you add salt to the water?
- Does it make a difference if you change the volume of water?
From colour changes to slimy science, we’ve got your kitchen chemistry covered!
Get in touch with FizzicsEd to find out how we can work with your class.
Chemistry Show
Years 3 to 6
Maximum 60 students
Science Show (NSW & VIC)
60 minutes
Online Class Available
STEM Full Day Accelerator - Primary
Designed from real classroom experiences, this modular day helps you create consistently effective science learning that directly address the new curriculum with easily accessible and cost-effective materials.












Very helpful and useful for kids and everyone and it’s easy to understand.
Love it
Thanks Amal, we’re glad that you’ve been using these science activities!
can you please answer these 2 questions:
What’s the independent, dependent & controlled variable of this experiment?
And what equipments have you used for this experiment?
Hi Rose!
The independent variable for this experiment was the temperature of the water (this was the variable that we could manipulate).
The dependent variable was the time it took for the water to change from liquid to solid (as this depends on the initial temperature of the water).
The controlled variables were the freezer temperature, the cup size, the volume of the water used in each test and the amount of stirring in each cup.
More details on variable testing here
You can find the details on the materials needed at the top of this page. Have fun with this experiment!
what are some risks that can take place when doing this experiment
Hi Zach!
If the water is close to boiling you really need to be careful. Also, water spills are a slipping hazard.
Is this an actual good experiment that will work in class
Hi Ben, give it go and see what happens! All the best.
is it ok to do in school
Sure thing, just check with your teacher first and let them handle the hot water. Have fun!
i don’t have it yet,but it sounds like its super fun! : )
Its an interesting experiment! Please let us know what your results were… do they conform to the theory above? Have fun!
How hot should the hot water be?
Hi! Try cups with different amounts of heat – you might find that there is a particular temperature where the result can be opposite 🙂 We like to use near-boiling vs room temperature, but you could try every temperature as a series of tests (as long as you’re safe with water over 55 degrees celsius). Have fun!
Hi, can you please describe the science involved in this investigation
Hi Jae! This is based on the Mpemba effect. Check out further details here
The cold water froze first for me, why?
This has been a tough one for us to reproduce too! We’ve found that there can be slight differences within the freezer itself, whereby placement of the cups in relation to the vents being a crucial factor. Did you try it again?
wow, this experiment was really surprising at first but now that I have read the science behind it, it makes a lot more sense.
Great to hear that you were able to confirm this experiment! It’s a strange one to observe 🙂
Just did the experiment with my son. I was fully expecting the hot water to freeze first, but it ended up being the cold water that froze. Cold started to freeze after 20 minutes. At 40 minutes cold is solid and hot is probably a third of the way frozen. Disappointed that the results didn’t turn out as described in the experiment. Maybe there needs to be more controls included in the experiment. I made sure to use the same cup and I put the cups in the same spot of the freezer. It would be good to have a suggested temperature for both.
Hi Alisa, I’m glad to hear you and your son have tried this experiment! Freezing water may seem commonplace, so you’d think that scientists would have this all figured out…but in fact, the Mpemba Effect is still being researched and redefined! From fancy labs where things are monitored and controlled down to the molecular level to high school classrooms, scientists see different results. This is because the effect is only sometimes observed under “some conditions”, as we have stated in the experiment description. The latest research suggests that convection currents, nucleation sites, supercooling and dissolved gases/ions all might play a part, and have complex interactions.
This means that even though you have used the same cup and put it in the same spot in the freezer (great variable control, by the way!), our freezers at home may still introduce inconsistencies as it cycles on and off to maintain temperature (usually -10 to -18 degrees Celcius), or have the cooling vent in a location which favours the cold or hot sample (top or bottom may influence the outcome). How we pour the water into the cup and walk it over to the freezer and place it might make a difference. One scientist even wrote that “two samples of water taken from the same bottle may differ significantly”!
While these are factors that are very hard to control at home, this is such an interesting experiment to attempt because this is not an experiment where it will “work” or “fail”. At Fizzics we don’t always get the same results either, but we love figuring out why we see each observation!
The authors of this article had some success with around 50 degrees Celcius difference in sample temperatures. Fizzics scientists have observed the effect in the past with nearly boiling (80-100 degrees) vs. cold tap water.
WOW
I loved this experiment
Glad that you enjoyed it!
Hi this is perfect for my students because I looked it up on Google and it was perfect and like to say thank you guys for putting this up because I need to show it to my students and I love how it’s very good experience
Hi this is perfect for my students
Fantastic! Please let us know how you go 🙂