You will need:
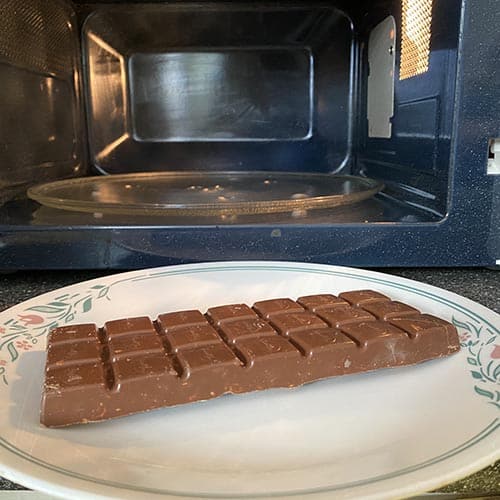
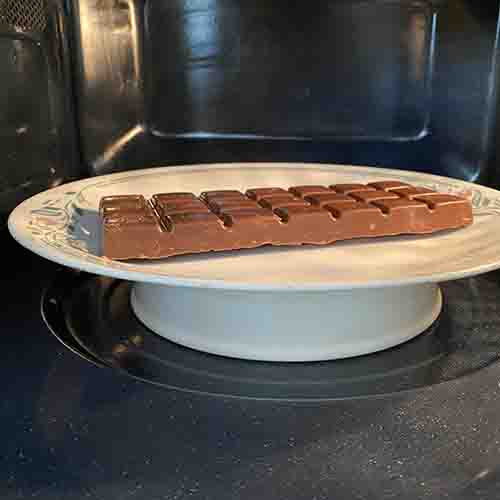
- A bar of chocolate
- Microwave
- Ruler & calculator
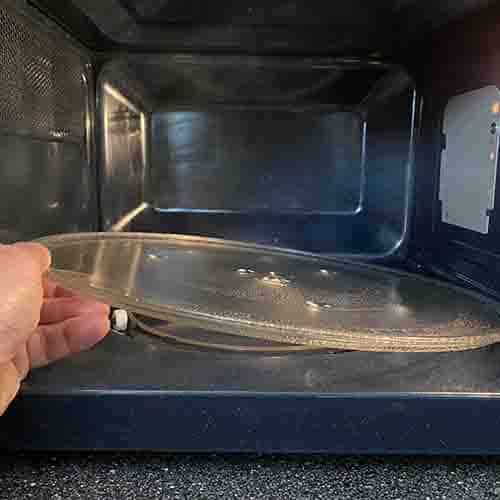
- A plate and potentially a flat bottom dish too
- Adult help
- BTW: if you don’t have chocolate you can also use cheese slices
School science visits since 2004!
– Curriculum-linked & award-winning incursions.
– Over 40 primary & high school programs to choose from.
– Designed by experienced educators.
– Over 2 million students reached.
– Face to face incursions & online programs available.
– Early learning centre visits too!
Get the Unit of Work on Light & Colour here!
- What is colour addition vs subtraction?
- What is opacity, translucence & transparency?
- What is the difference between refraction & reflection?
- Explore UV light, lenses, thermochromism and more!
Includes cross-curricular teaching ideas, student quizzes, a sample marking rubric, scope & sequences & more
What is going on?
The speed of light in a vacuum, also known as c, is a universal physical constant that scientist use in many calculations (including the famous E=mc2). Its exact value is defined as 299,792,458 metres per second. To work out the speed of light using chocolate, we need to work out the wavelength of the microwaves inside. Once we know this we can use the following formula to work it out;
c =λf
where
c = speed of light
λ = the wavelength of light, usually measured in meters
f = the frequency at which light waves moves (hertz)
Different microwaves have different power levels, however if your microwave is a standard model it should have a frequency of 2.45 gigahertz. This means that the microwaves inside move up and down 2.45 billion times per second.
To work out the speed of light using chocolate and a microwave,
-
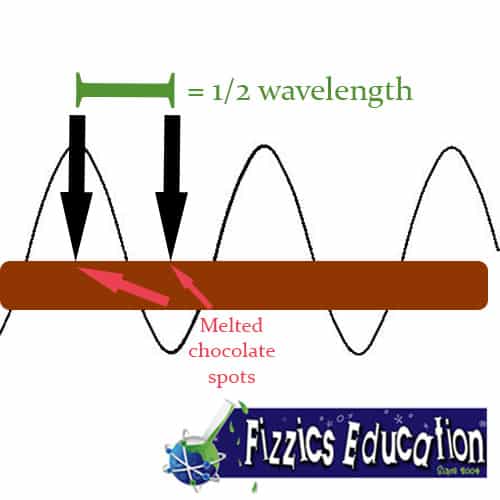
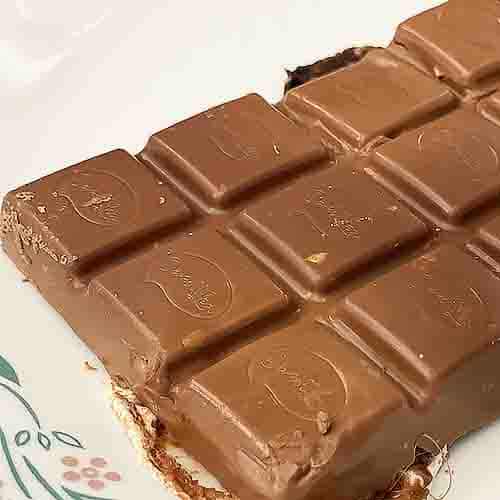
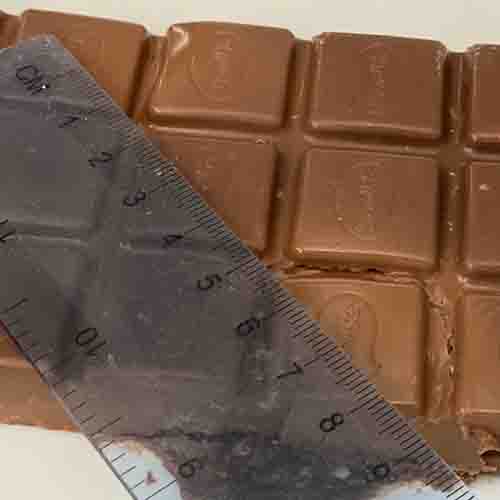
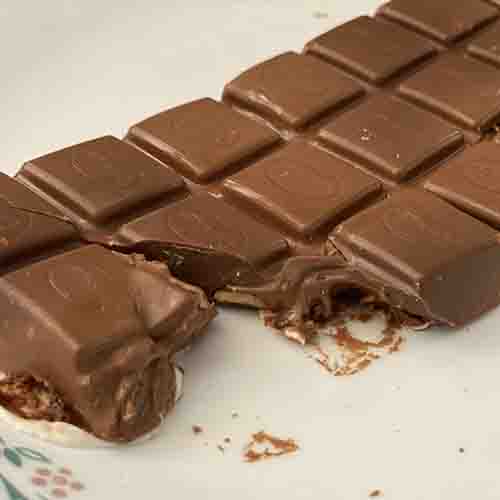
- Firstly, multiply the distance between the melted spots on the chocolate bar by two. The reason for this is that the distance between the two melted spots was 1/2 a wavelength and need to get the full wavelength. See the image again here;
 Assuming your microwave is running at 2.45 gigahertz, multiply that number by 2,450,000,000 (2.45 gigahertz expressed as hertz ). Remember, 1 Gigahertz is a measure of frequency equivalent to one thousand million (109) cycles per second i.e 1 billion. 1 hertz just means one cycle of the wave. If you’re not sure of the frequency of your microwave, check your microwave manual
 - This answer works in centimetres per second so you’ve got one more step. To get an answer in metres per second, divide this answer by 100.
- Firstly, multiply the distance between the melted spots on the chocolate bar by two. The reason for this is that the distance between the two melted spots was 1/2 a wavelength and need to get the full wavelength. See the image again here;
In summary, the speed of light in chocolate (for this microwave) is calculated as follows:
c = distance between two melted spots of chocolate x 2 x 2450000000 / 100
What answer do you get for c? Was it close? In our example above we measured an average of 6.2 cm between each melted spot of chocolate and so our calculation ends up being 303,800,000 metres per second which isn’t exactly 299,792,458 metres per second but it’s not too bad either. Plus, we get to each the chocolate afterwards!
Variables to test
- Does it matter where you place the chocolate within the microwave?
- What if the chocolate is higher or lower within the microwave?
- What happens if the chocolate is spinning on the turntable during the activity? Why?
- Try different microwave types, does this matter?
- Try doing this with cheese slices, is it easier to measure?
Light & Colour
Years 1 to 6
Maximum 30 students
Workshop or Show (NSW & VIC)
60 or 90 minutes
Online Class Available
Light & Colour
Years 7 to 10
Maximum 60 students
Science Show (NSW & VIC only)
60 minutes
Online Class Available
STEM Full Day Accelerator - Primary
Designed from real classroom experiences, this modular day helps you create consistently effective science learning that directly address the new curriculum with easily accessible and cost-effective materials.























The standing wave is moving up and down. The point of maximum energy is the antinode. The node has no energy. I don’t think you visual diagram is correct. The point of melting is the antinode. The result of your calculation is, of course, correct, but you are measuring the distance between the antinodes, not the nodes.
Yep, you’re right! Graphic design off and it got missed. Thanks!
That is so delicious, awesome job!
Glad you enjoyed it!